Invite and onboard a client or teammate
Inviting your clients or teammates to Clarityflow is easy (both for you and for them!).
What makes Clarityflow unique is you can customize the perfect onboarding sequence for every new client or teammate that you invite, so that they're set up for success from day one.
In this guide, we'll cover:
Create an invitation
You can create an invitation from anywhere in Clarityflow:
Go to Contacts > "Invite Someone"
In a Conversation > Open the participants > "Add People"
In a Program > "Enroll Someone..."
In a Space > "Add a Member"
All of these places do the same thing: They start a new invitation.
To invite someone, you can:
Search for an existing contact by name or email
Enter the email address of a new contact to start a new invitation
Create a "multi-use invitation link" to create a simple invitation link to share with a group of people
Then you can configure the following:
The "final destination"
After this person has clicked your invitation link and completes their onboarding flow, where should they go? Should they go to a new conversation, an existing conversation, a course enrollment, a group, etc.?
You can configure this or, depending on where you started the invitation, it will be pre-configured for you.

Onboarding steps
You can configure the steps this person will follow after they've clicked your invitation link. This starts with them creating their password and confirming their profile details. They can give permissions for their camera and mic, and then watch your welcome video before diving into Clarityflow.
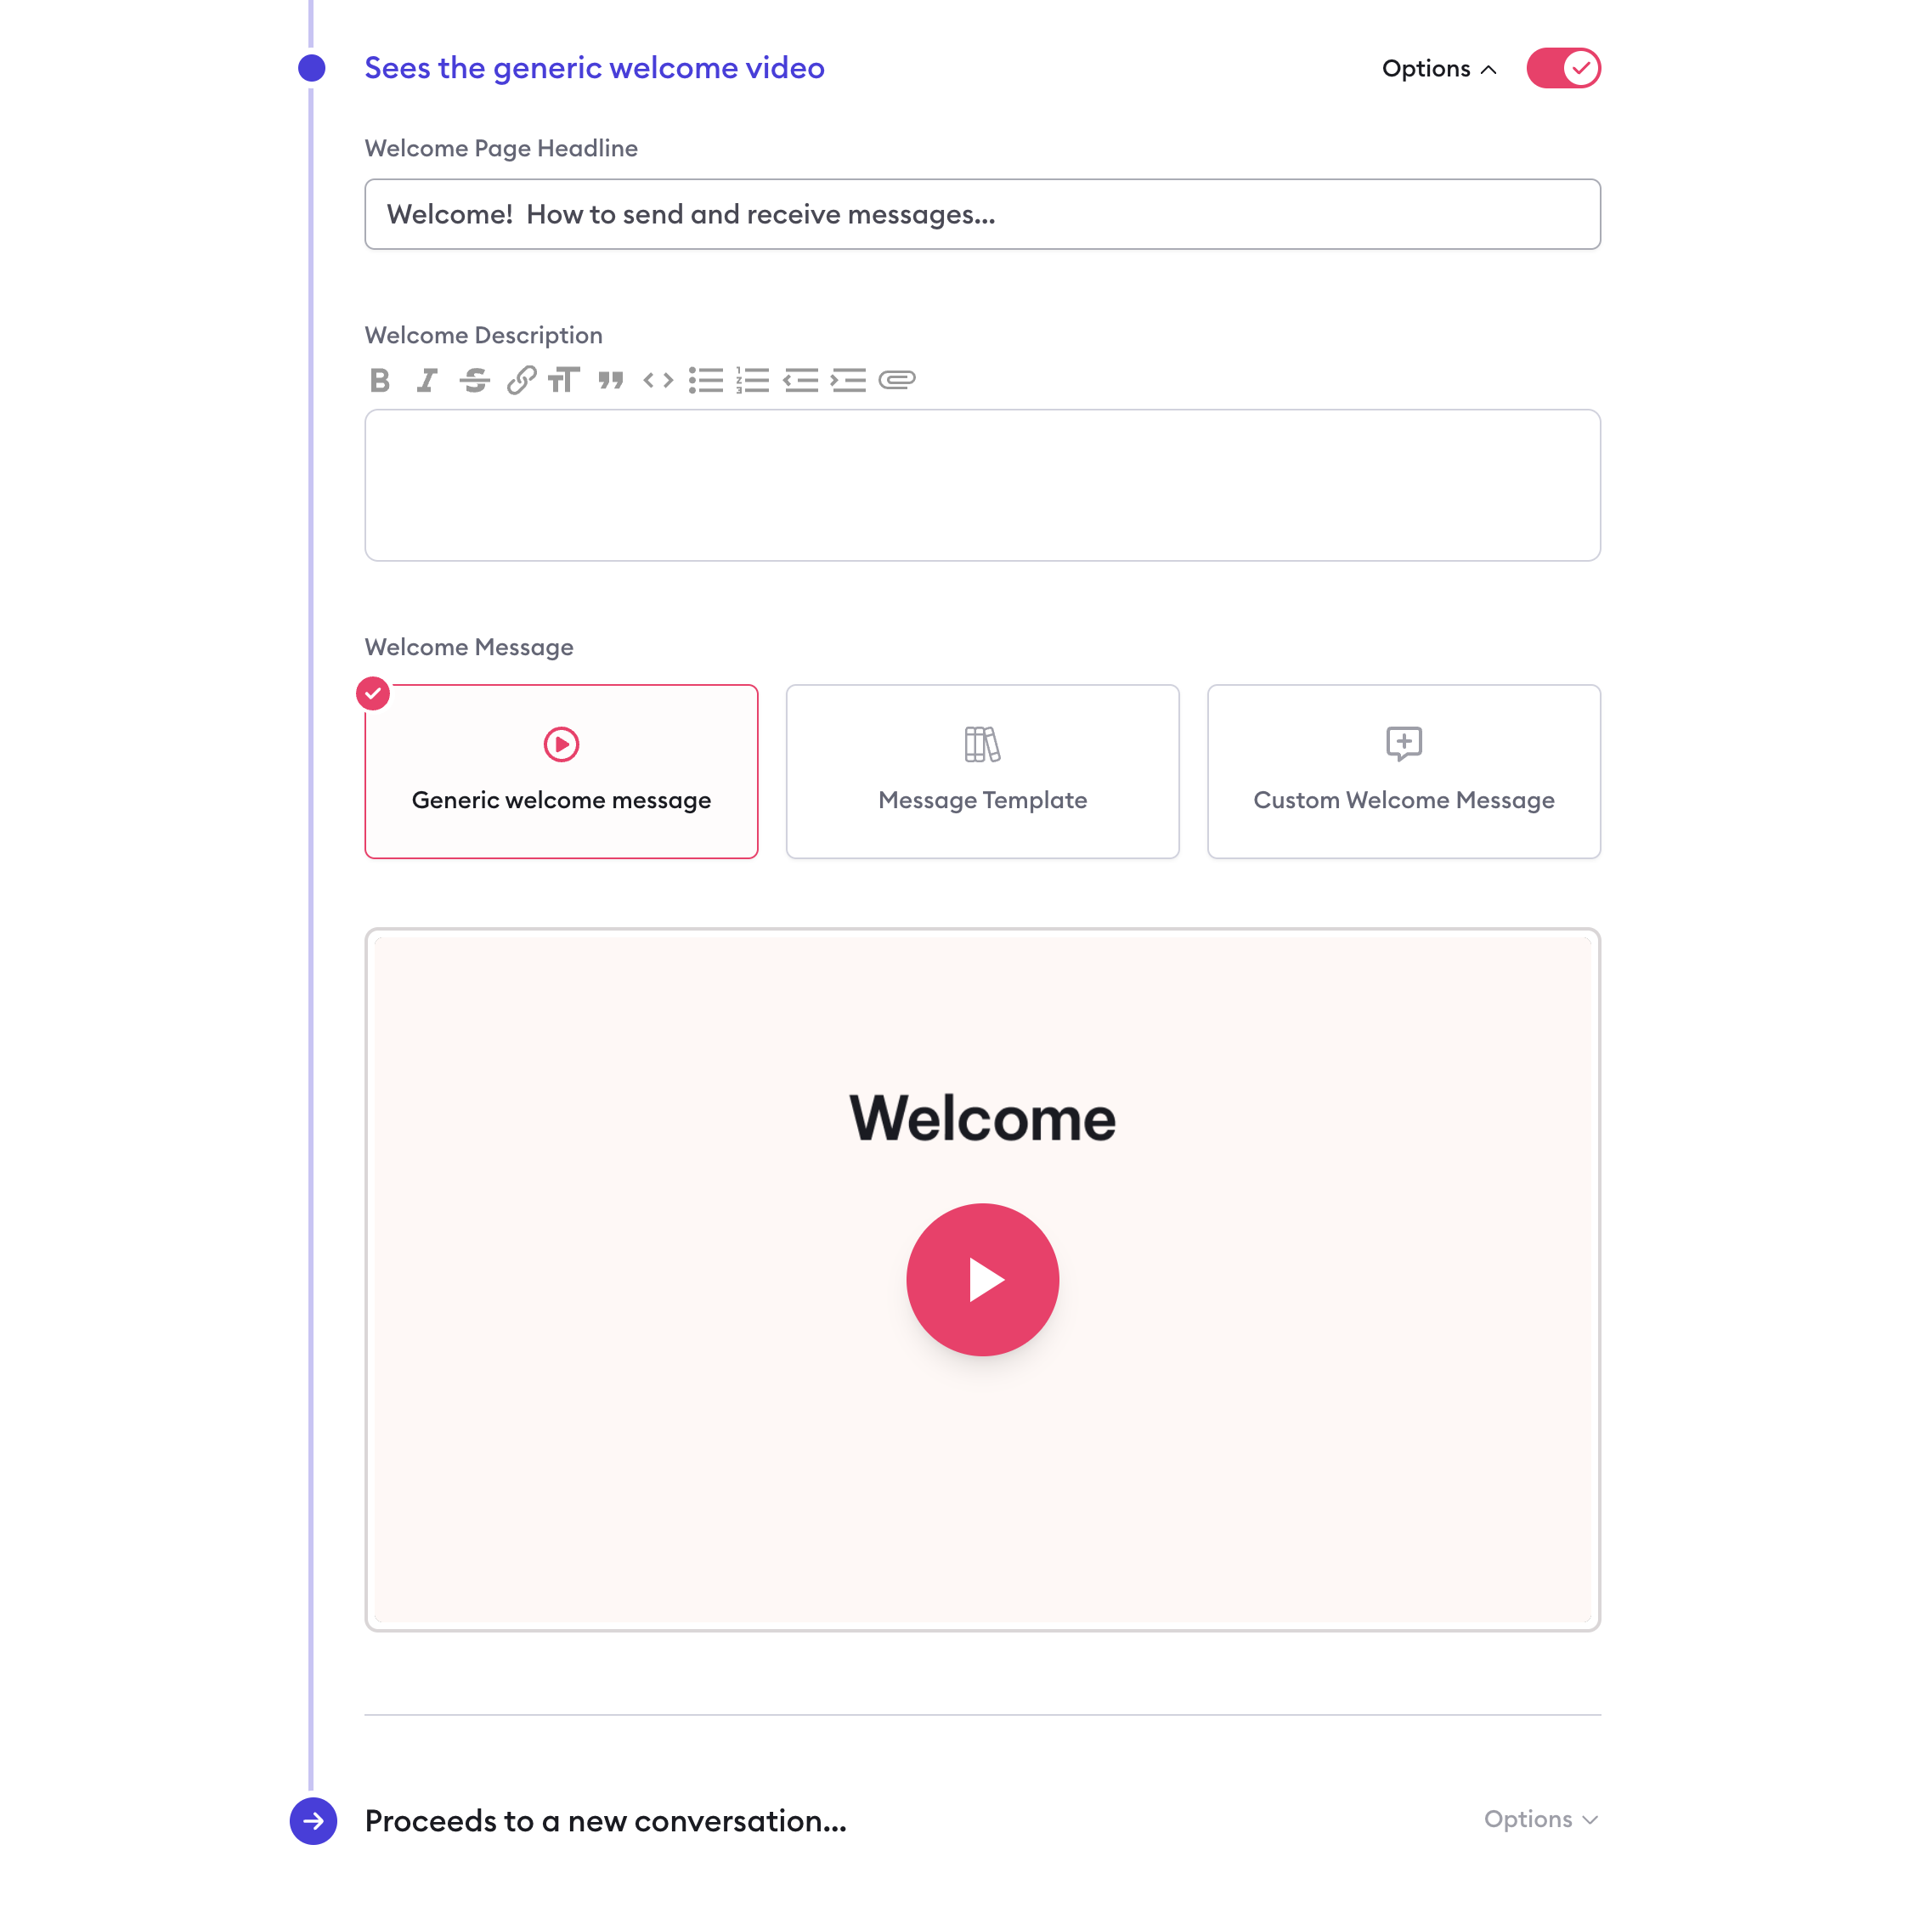
Customize the "welcome" message
The last (optional) step in the client's onboarding is a welcome message, which can be video, audio, and/or text.
The welcome message can be set up in three different ways:
Use our ready-made welcome message
This is an unbranded, ready-made brief walkthrough video (you can see it right here) that shows a new user how to record and send a response in Clarityflow. It's a great way to get up and running fast!
Create your own template welcome message
Go to your Library, then create a message template. This can be your reusable welcome message that you use on all of your invitations. You can create a few of them for different types of invitations (for example, one for onboarding clients, and another for onboarding teammates). Message templates can be video, audio, and/or text. When setting up your invitation, you can select this message template.
Record a custom message just for this person
Finally, you have the option to compose a custom welcome message that will be shown only to the specific person you're inviting. This is a great way to add a personal touch to a special client's onboarding experience.
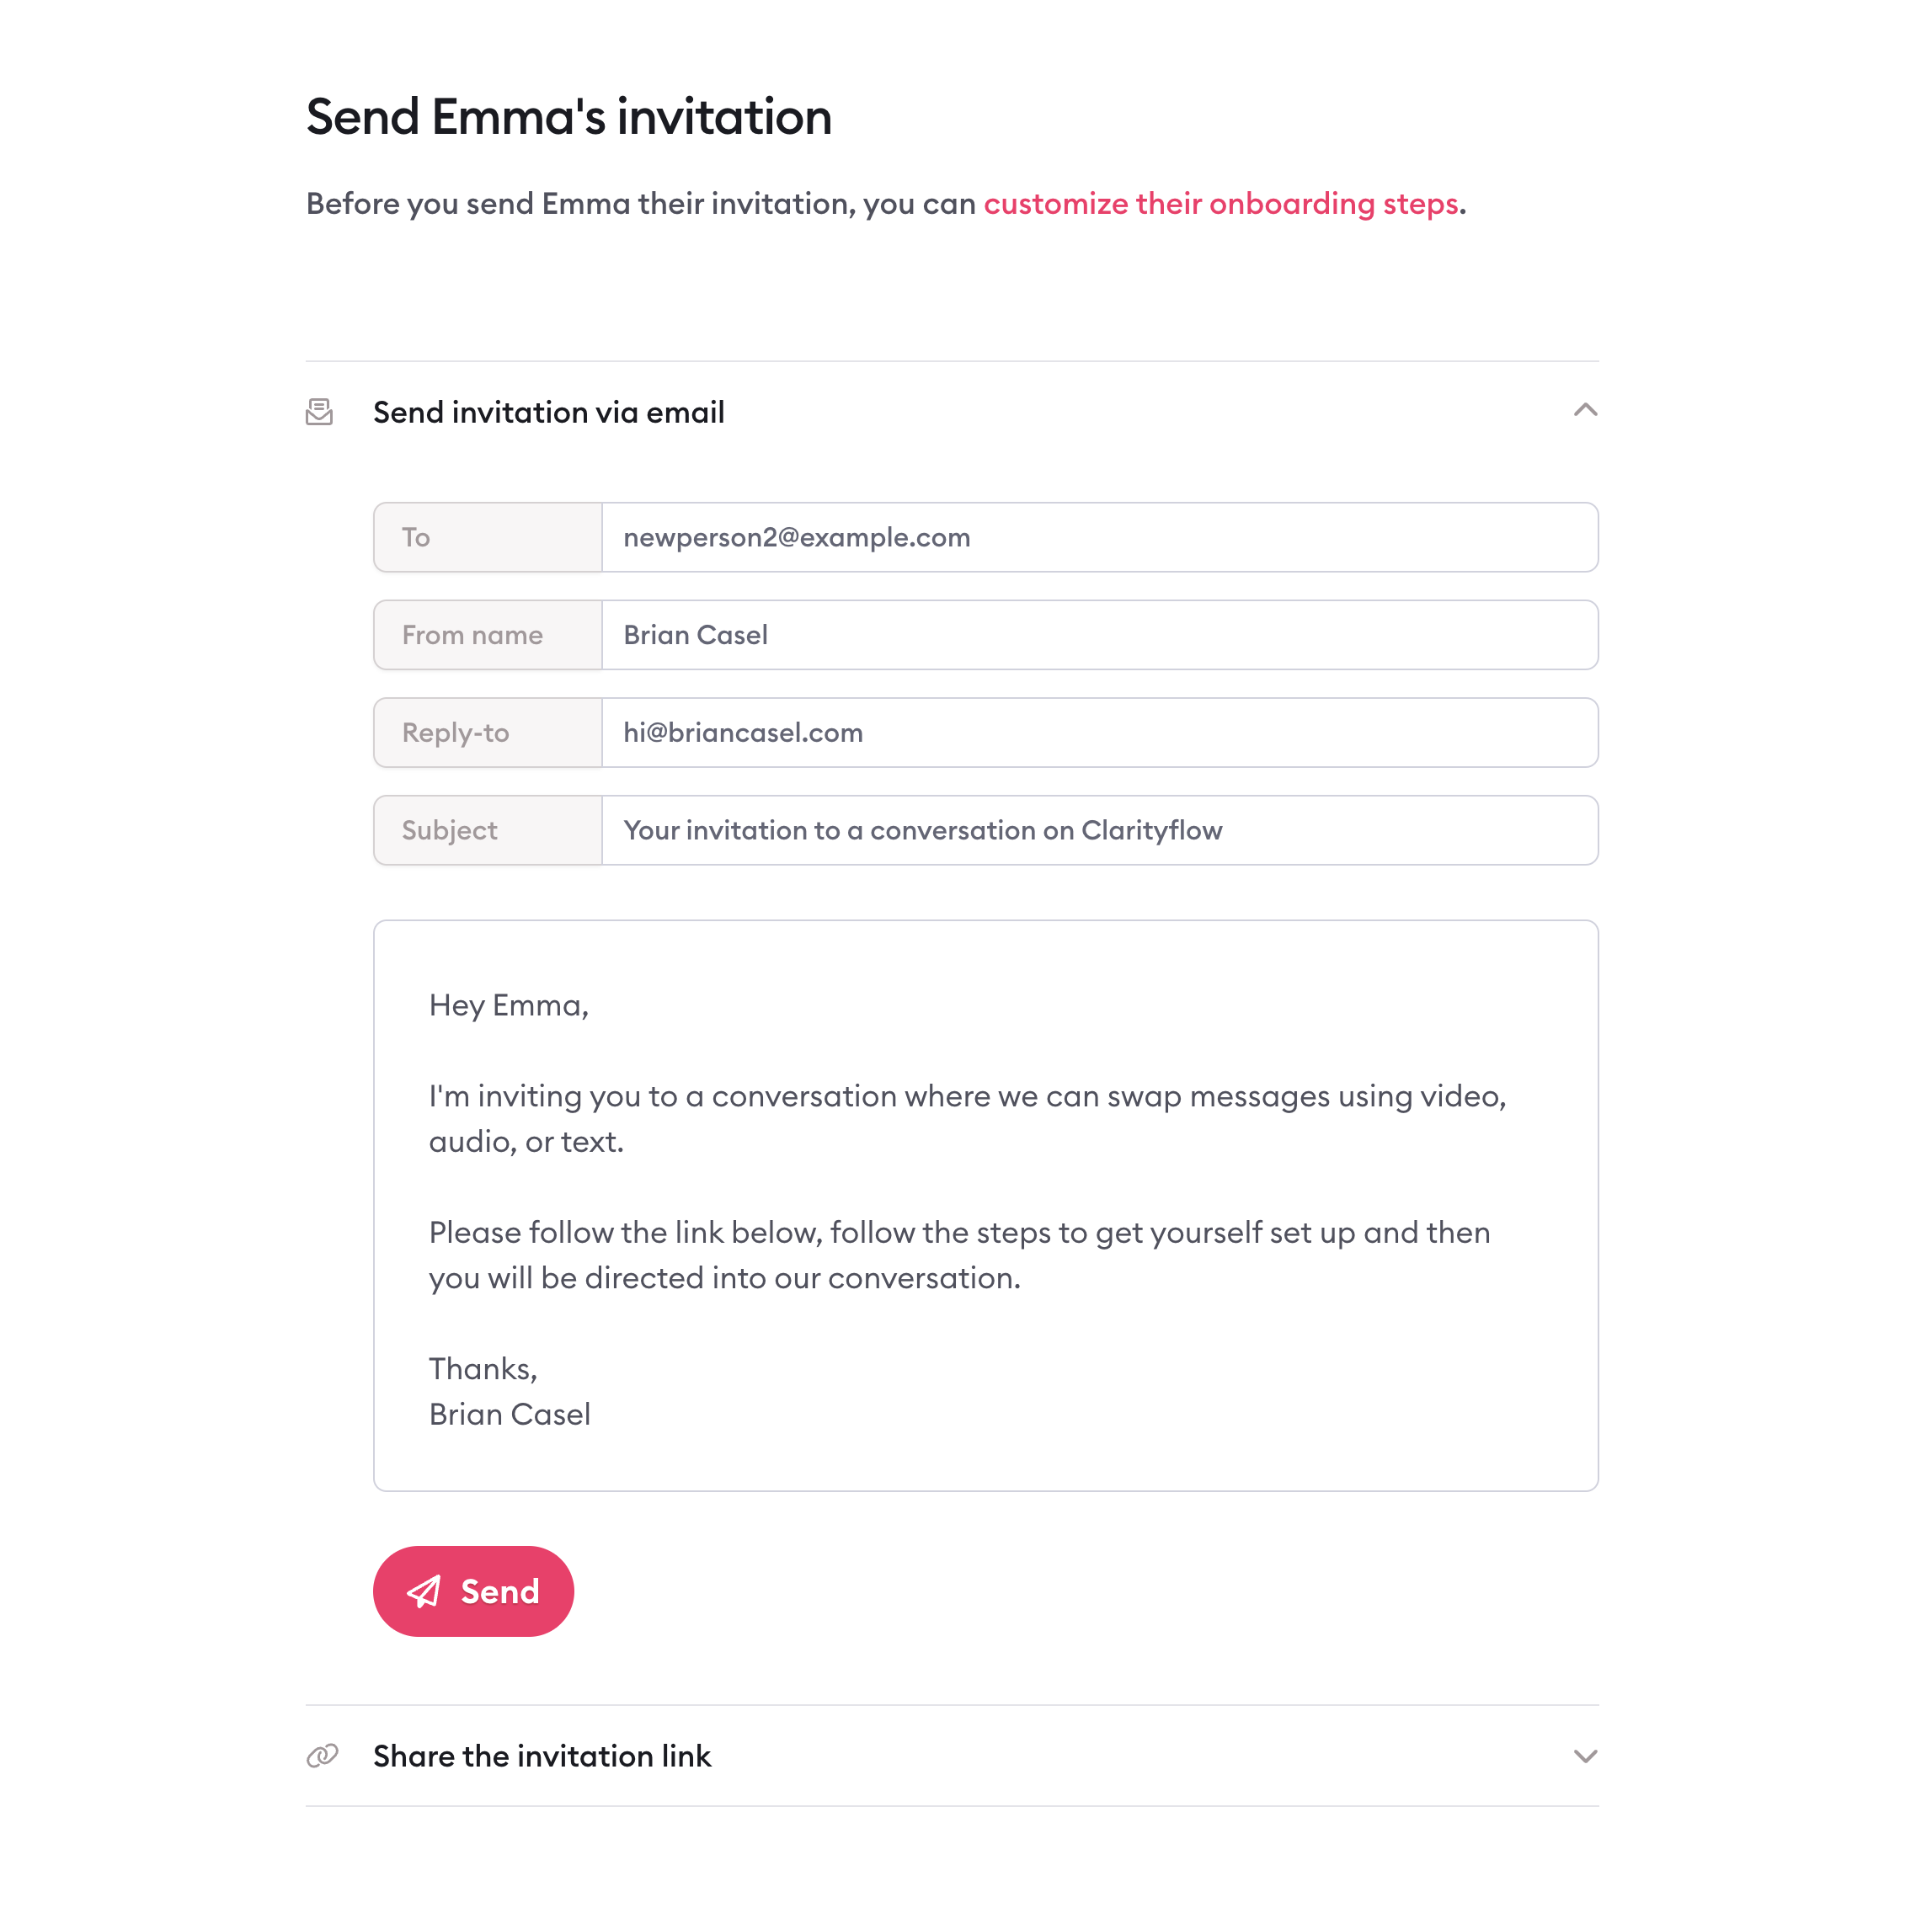
Customize the email (or share the link)
Ready to send the invitation? You can customize the email content and send it off! Or you can grab the invitation link and share it with them another way by simply pasting the link.
Managing invitation templates
You can customize and manage templates for your invitations so your invitations are tailored to your own style and onboarding needs.
Inviting a guest (client) vs. inviting a team member
With every invitation, you have the option to invite the person as a guest or a team member in your account. There are a few important differences:
Guests (a.k.a. "respondent users") are typically clients, customers, external contacts, etc.
Team members are typically employees, coworkers, partners, etc.
Guests (clients) | Team members |
|---|---|
Invite unlimited guests at no extra cost. | Team members count toward your plan's team members count. |
Guests can respond to conversations and programs that they're participating in. | Team members can create and manage conversations and programs in your account. |
You can give team members different permission levels and abilities. |
Track your invitations and their status
To see the status and to further configure each invitation, you go to Account Settings > Invitations.
There, you can filter your invitations by their status. Invitations status meanings are as follows:
Pending
The invitee has not clicked your invitation and has not set their password (or logged in) yet.
Onboarding
The invitee has clicked and set their password & logged in. They are going through the rest of their onboarding steps, but have not yet reached the final redirect.
Complete
The invitee has completed all steps of their onboarding and has been redirected to their final destination.
Track when an invitation email has been sent
In addition to tracking the status (pending, onboarding, complete) for each invitation, you can also track when the invitation has been sent.
When you send the email using Clarityflow, we mark it as sent and show that time on the invitation.
If you share the invitation link with the client some other way, you can manually mark an invitation as "sent" by opening that invitation's settings. It will set it to the time you've marked it as sent.

Create an invitation via Zapier
Using our Zapier integration? You can use it to create an invitation.
Using our Zapier action, "Create an invitation", you can feed it an email address, then generate a new invitation and configure its onboarding steps all from within Zapier.
The output of the step will be the invitation URL, which you can share with your invitee so they can proceed with their onboarding flow.
Note: Creating the invitation via Zapier does not automatically send the invitation via email. However, you can get the invitation link from the output of the Zapier action and set up your method of sharing it with your invitee via subsequent steps in the Zap. Or you can log into your Clarityflow account and send the invitation from there.
Sending many invitations in a batch
If you have many clients to onboard together in a batch, you can use the invitation batch feature.
Go to Account Settings > Invitations > "Invitation Batches"
Input up to 30 client email addresses, separated by commas
Configure the final destination for all of the invitations in this batch
Configure the onboarding steps, which all of these invitees will go through when they each click their invitation link
Override the default email content in one of two places:
In the invitation batch settings. Any custom content you add here will be applied to all invitations sent via this batch.
On individual invitations, when sending them one by one.
Want to learn more? Read our full guide to batched invitations.
Learn more about Clarityflow.