Create and use different appointment types
You likely have different types of appointments that people can schedule with you. For example, you might offer a:
90-minute coaching session
15-minute consultation call
With Clarityflow Appointments, you can create multiple appointment types—each of which has its own unique settings, availability, and scheduling link that you can share with your clients.
Here's what you need to know about creating different appointment types in Clarityflow:
What are appointment types?
They're exactly what they sound like: different types of appointments that people can book with you.
For example, if someone wants to book a 15-minute consultation call, you can send them a scheduling link to book that exact type of appointment with you—with all of your preferred settings and details attached.
How many different appointment types can you have?
On Clarityflow's Starter plan, you can create two different appointment types. On the Standard plan and higher, you're able to create unlimited types of appointments.
How can you create an appointment type?
Navigate to Appointments > Scheduling Links.
Your Clarityflow account comes with one appointment type by default (called "Coaching Session"). You can click in and customize that appointment or add an entirely new appointment type by clicking "New Appointment Type" in the upper right-hand corner.
Sticking with our example, you'd create two appointment types:
Coaching Session
Consultation Call

Customize your appointment type
Whether you're customizing an existing appointment type or creating a new one, you'll see this menu where you can adjust all of the specific settings and details for that appointment.
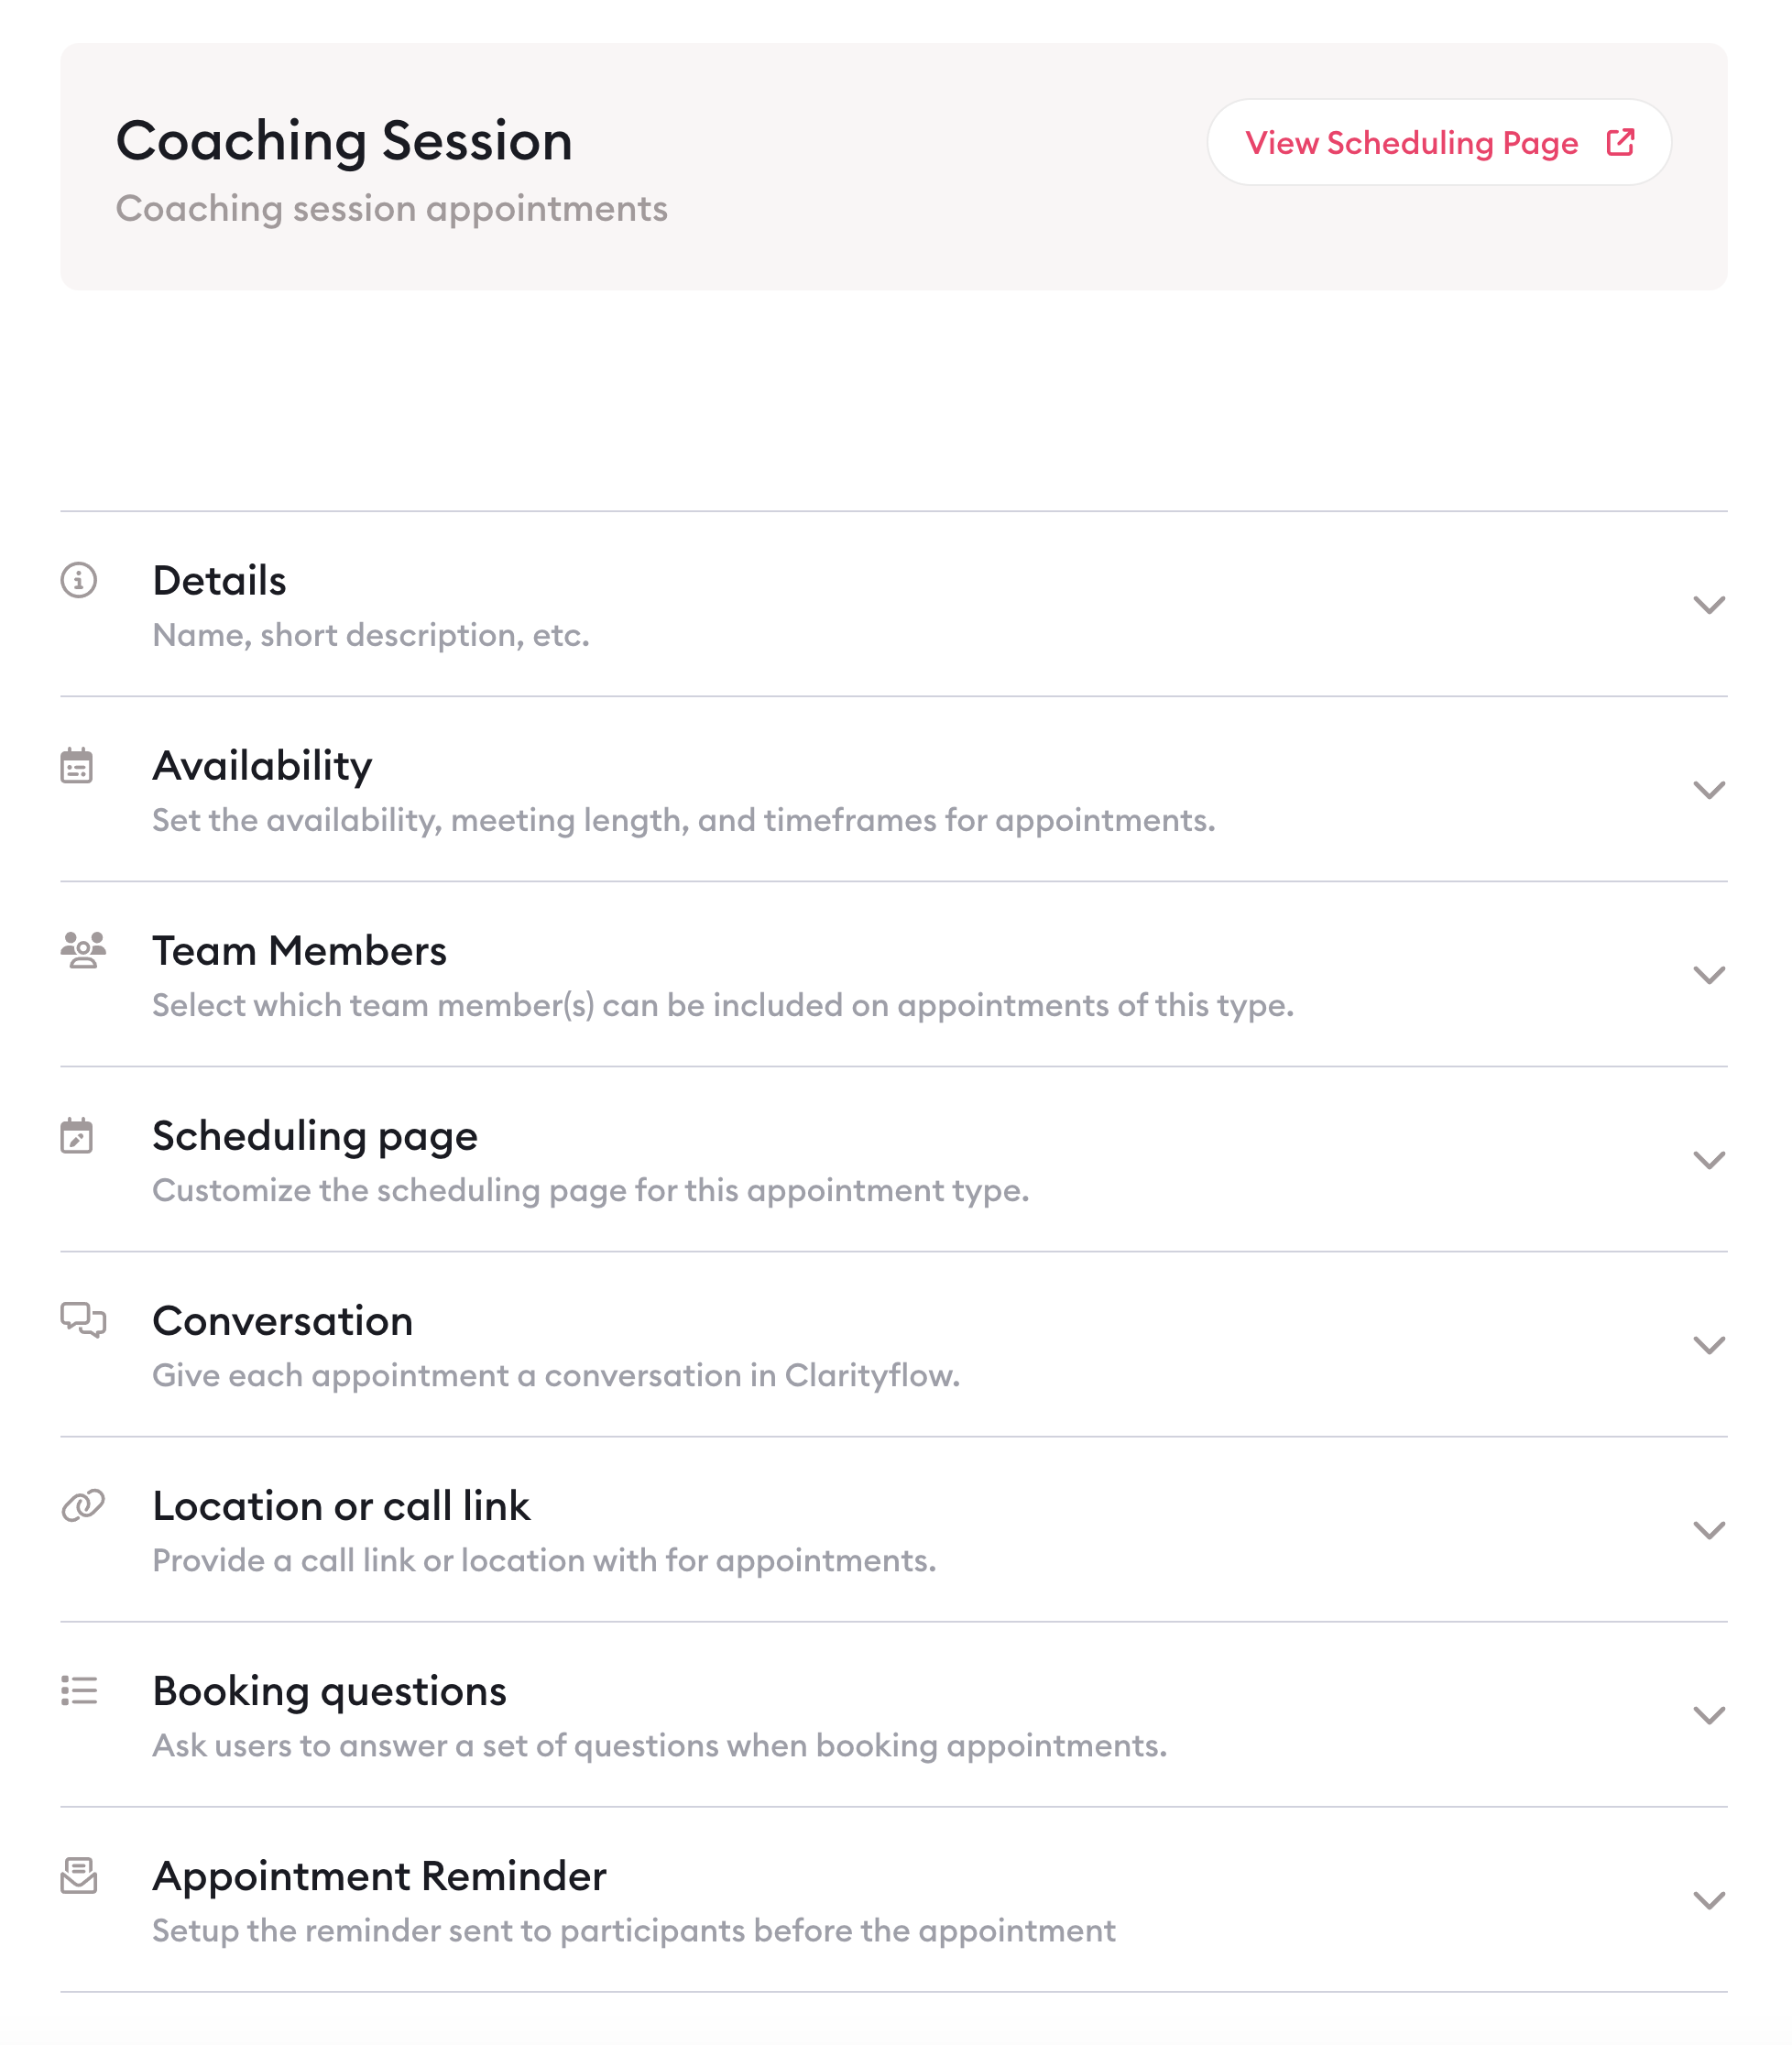
Let's take a close look at each of these options:
Details
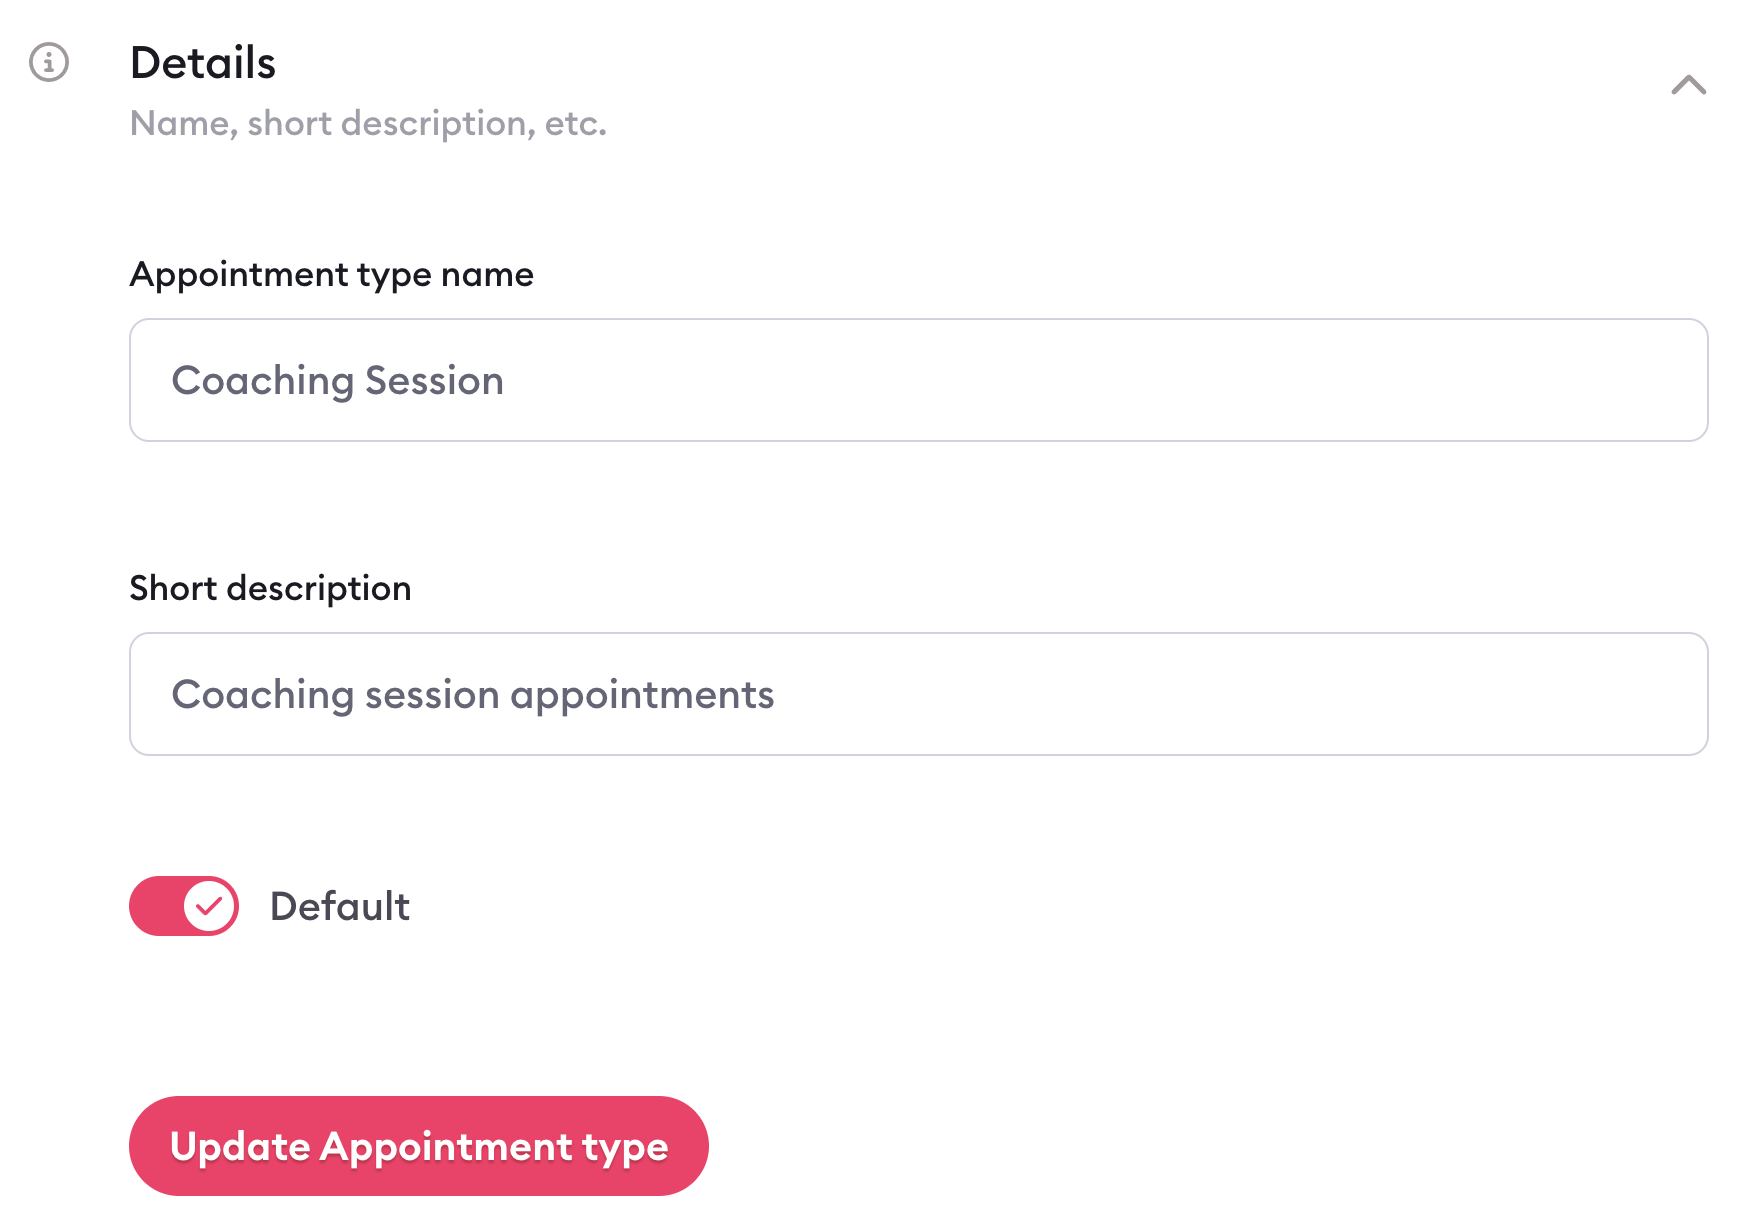
When you click into your appointment type's details, you can customize:
Your appointment type name (e.g. "Coaching Session")
Your appointment name (this is what is shown on your synced calendar when someone books this type of appointment and you can use {bookee_name} to include the bookee's name in the name of the appointment that's booked on your calendar
A short description of your appointment
Whether this appointment type should be your default (NOTE: one type of appointment does need to be selected as your default)
Availability
You can also create different availabilities in Clarityflow Appointments, which you can assign to different appointment types. For example, you might offer coaching sessions Monday through Friday but only do consultation calls on Tuesdays and Thursdays.
Within this menu, you start by selecting the pre-set availability you want to apply to this type of appointment.

You can also customize your:
Meeting length
Start time interval (e.g. every 30 minutes)
Buffer before and after meetings (helpful if you don't want to have coaching sessions or other calls scheduled back to back)
Minimum notice
Limit for how far out people can schedule
Appointment frequency (e.g. you don't want to have more than two coaching sessions scheduled in one day)
Team members
If you run a team, you can use the team members menu to select which team member(s) should be included on this type of appointment. Use the toggles to make your selections.

If you select more than one team member, you also have further control over whether both team members should be assigned to the appointment or if you'll use other criteria to determine who the appointment should be assigned to.
From the dropdown, you can select:
All selected team member(s) are included on all appointments of this type
Cycle through the team members to determine who the next person to be booked for an appointment will be
The team member with the fewest appointments of this type will always be booked on the next appointment

Scheduling page
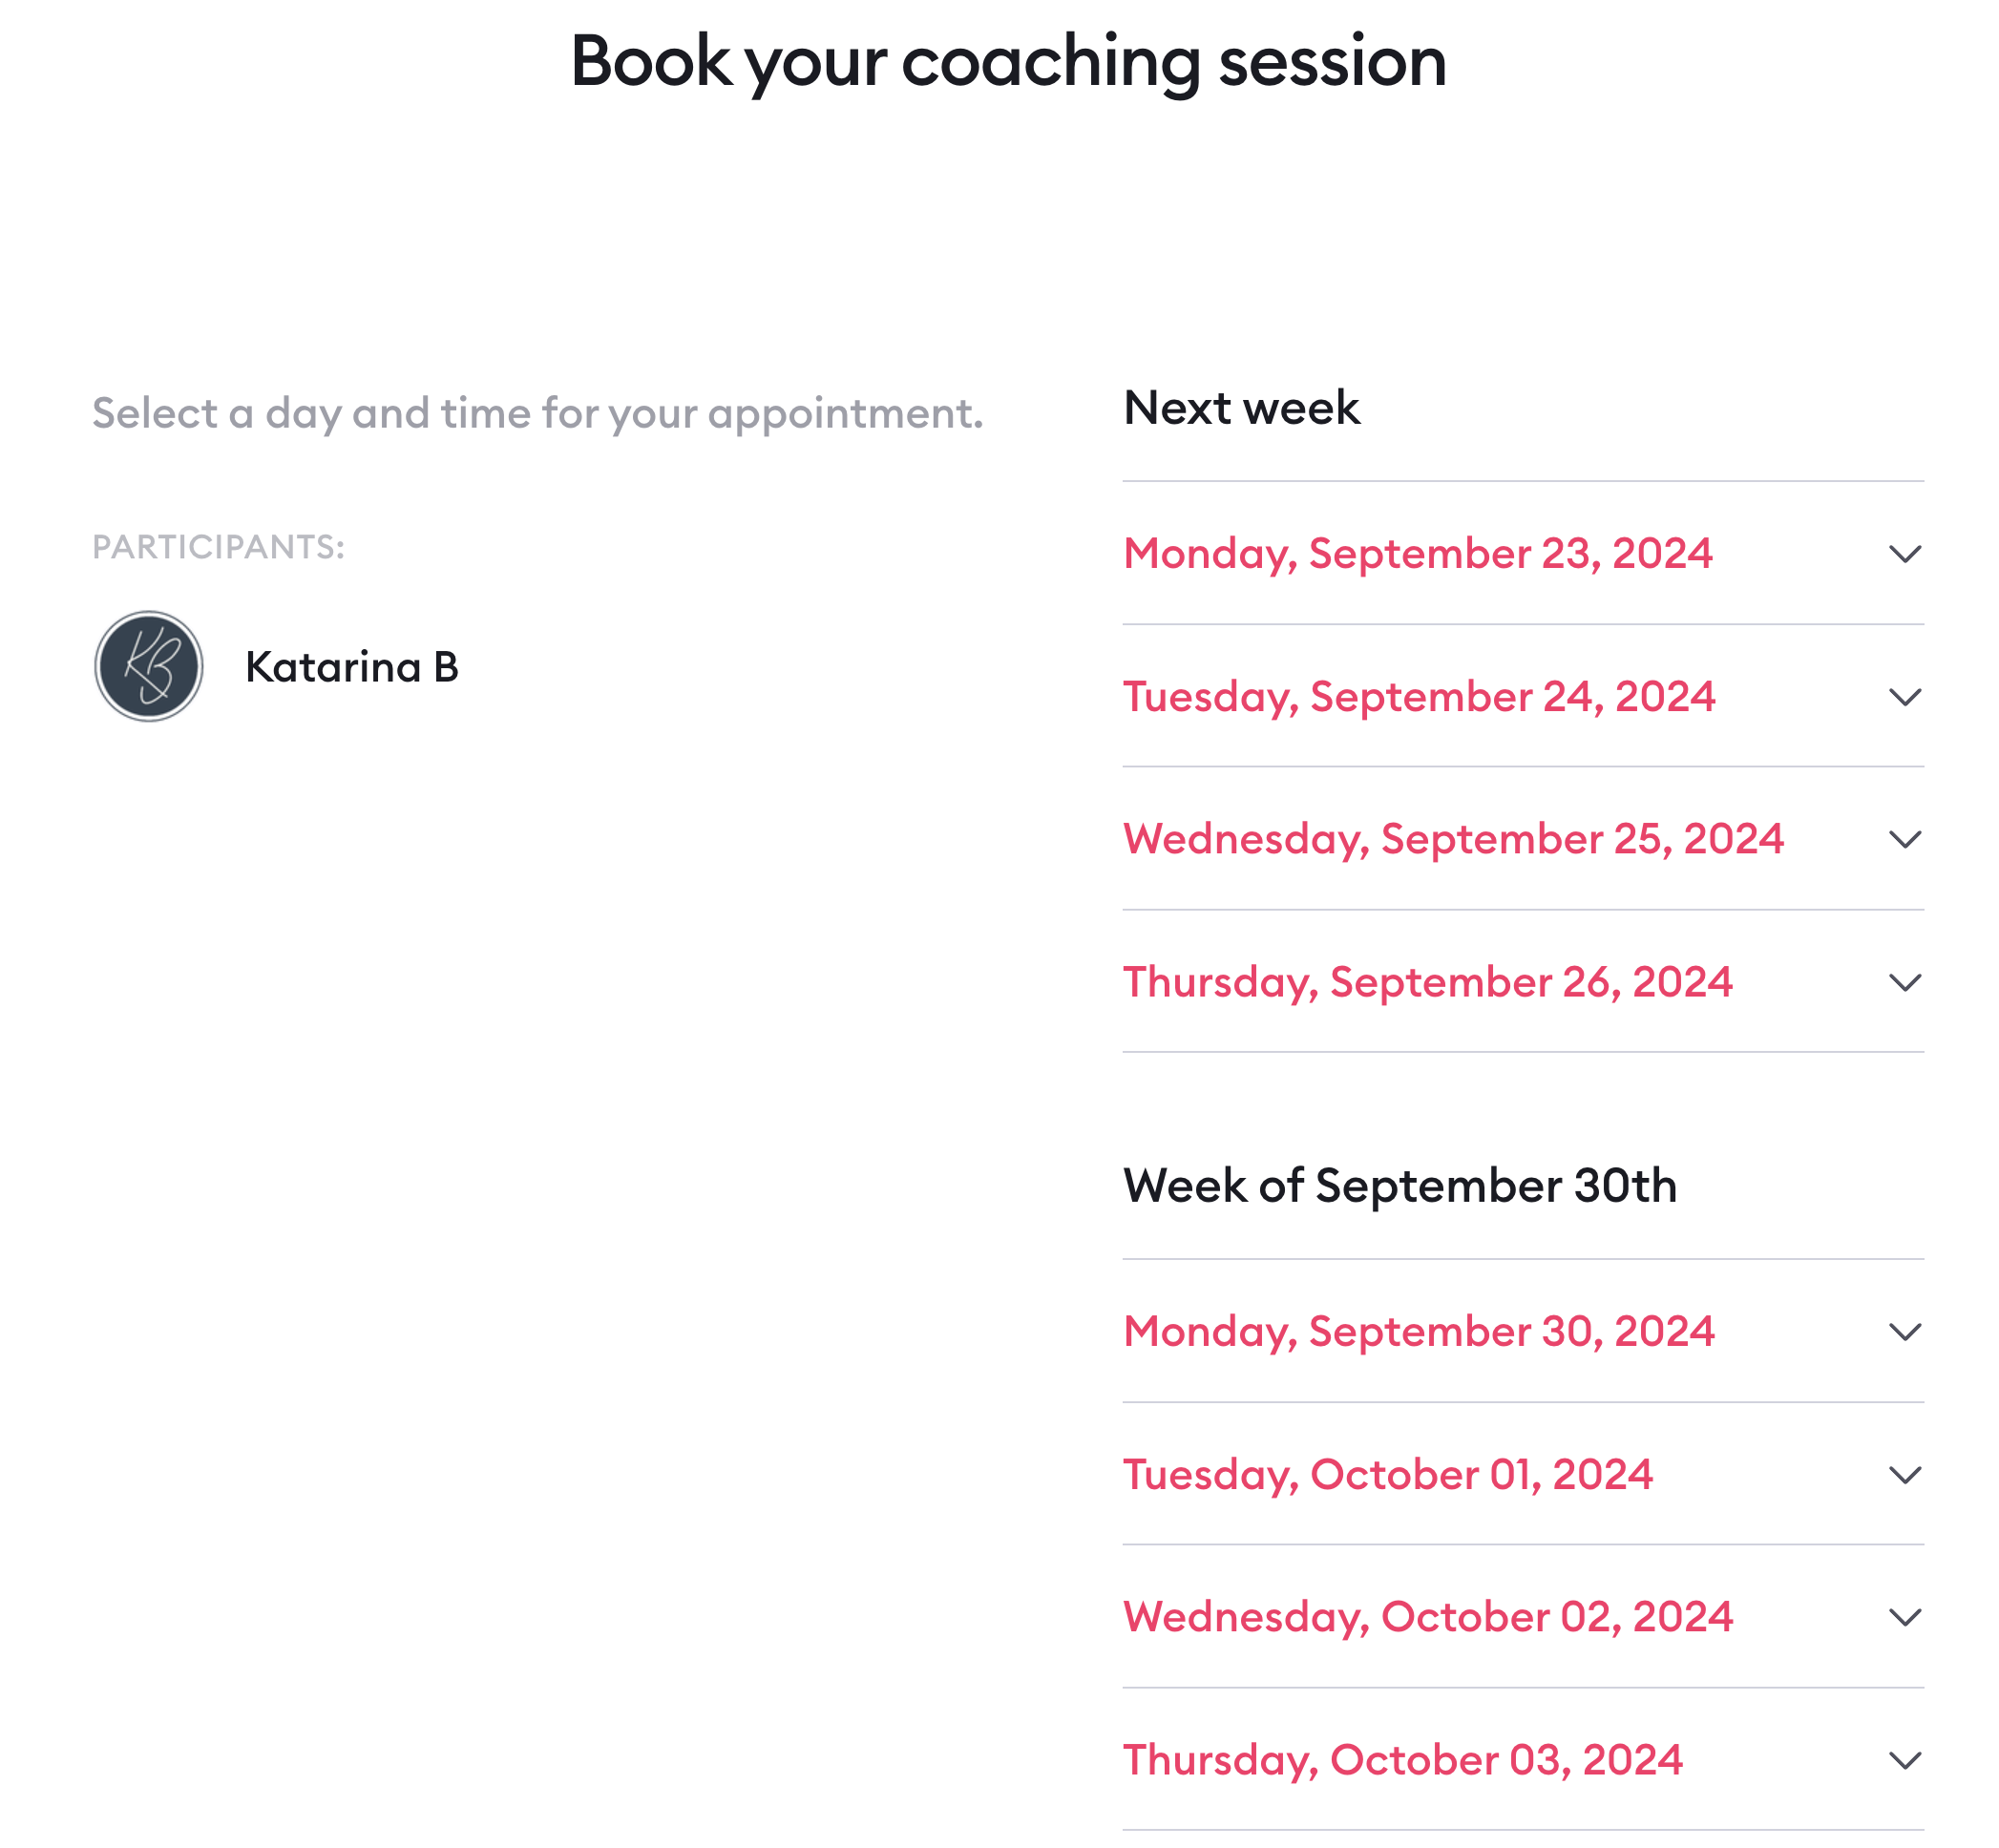
Your scheduling page is a public booking page you can share with people—whether they're registered Clarityflow users or not. Here's what it looks like:
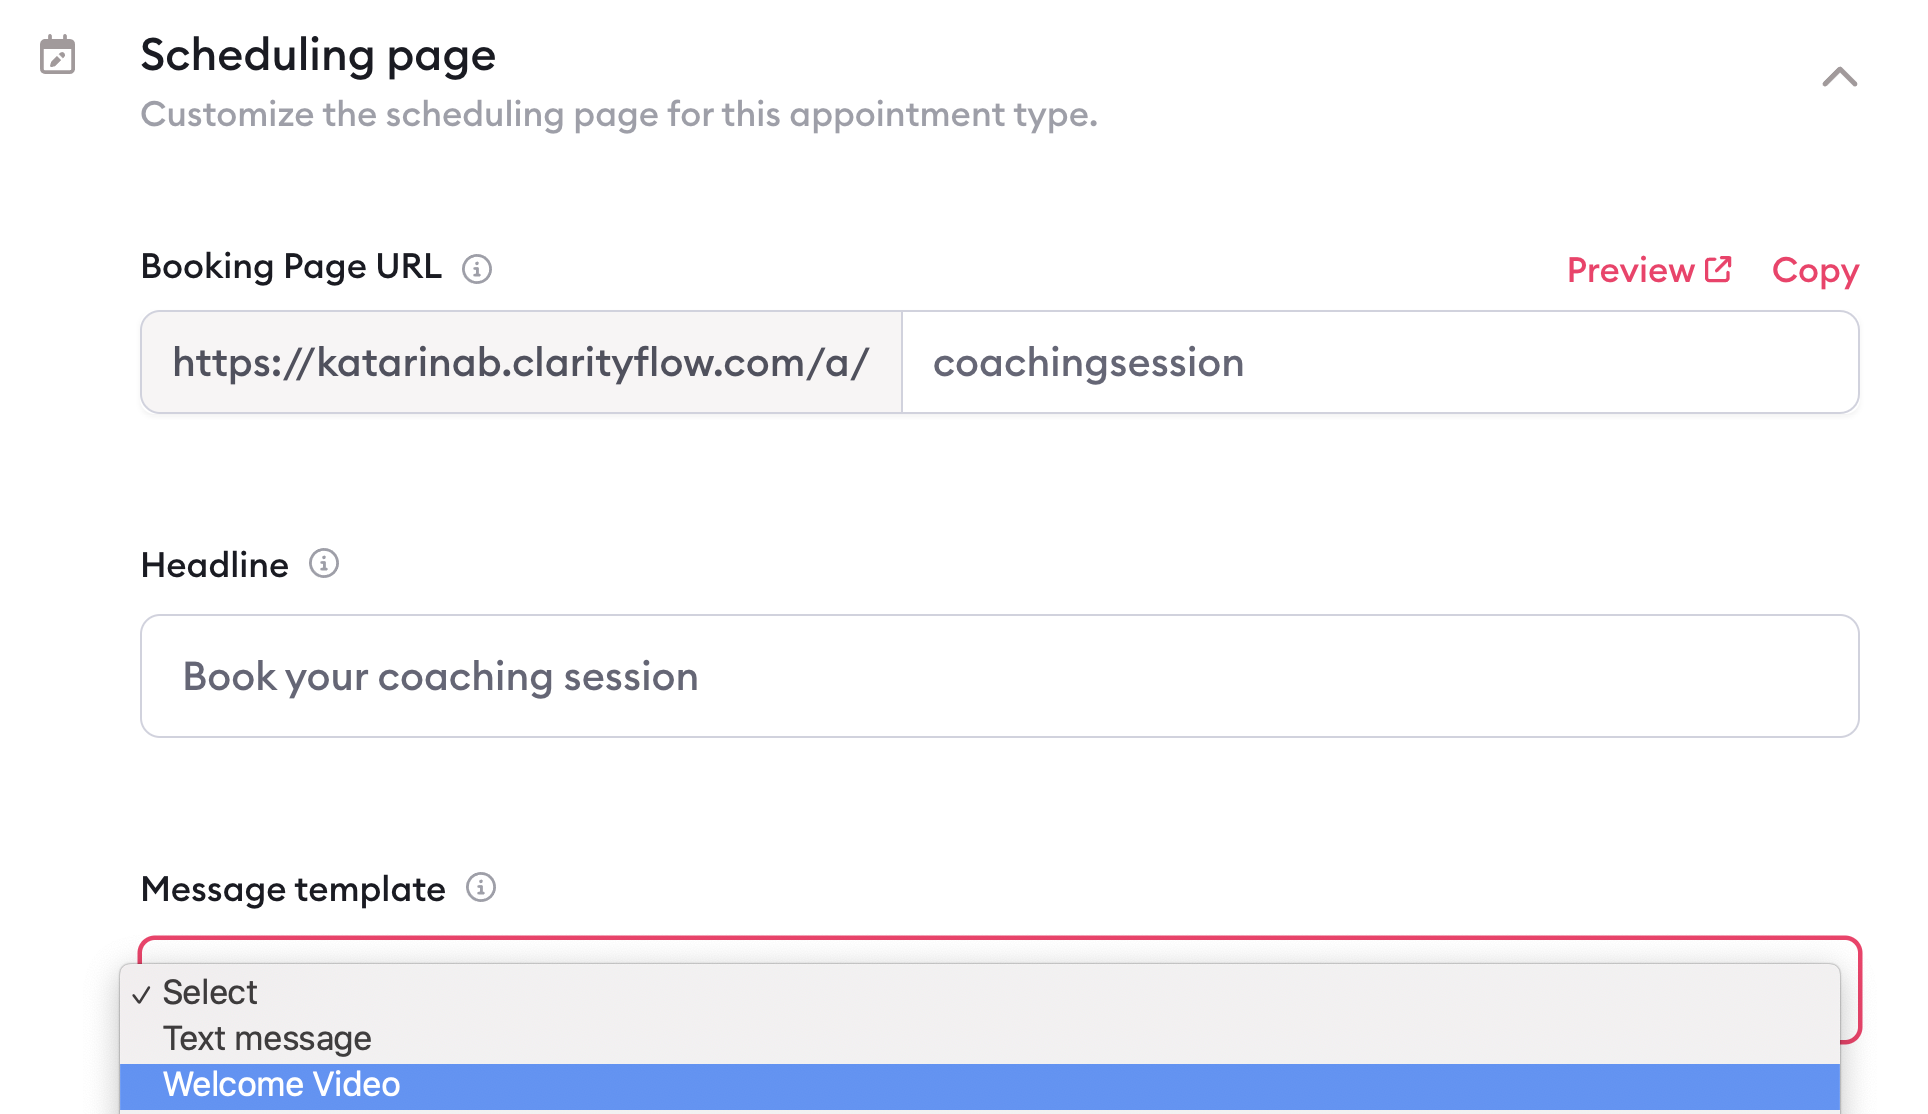
Under the scheduling page menu, you can customize your:
Booking page URL
Headline
Message template (perfect for displaying a friendly intro video or other important message at the top of your booking page)
New booking instructions (these are the instructions shown to someone who's using your booking page)
Update booking instructions (these are the instructions shown to someone who is updating their booking of this type)
Booking button text
Rule for whether people need to be logged into Clarityflow to view your booking page (leave this off if you want to share your scheduling link with people who you aren't already communicating with in Clarityflow)
Redirect after booking (where Clarityflow should push people after they've booked their appointment)

Conversation
Just like everything else in Clarityflow, your appointments are integrated seamlessly with your async conversations.
In each appointment type, you can choose from the following options:
New bookings will create a new conversation unless the booking was initiated from within an existing conversation (in which case, the appointment details will populate in the existing conversation)
Every new appointment will always create a new conversation
New appointments will not create new conversations
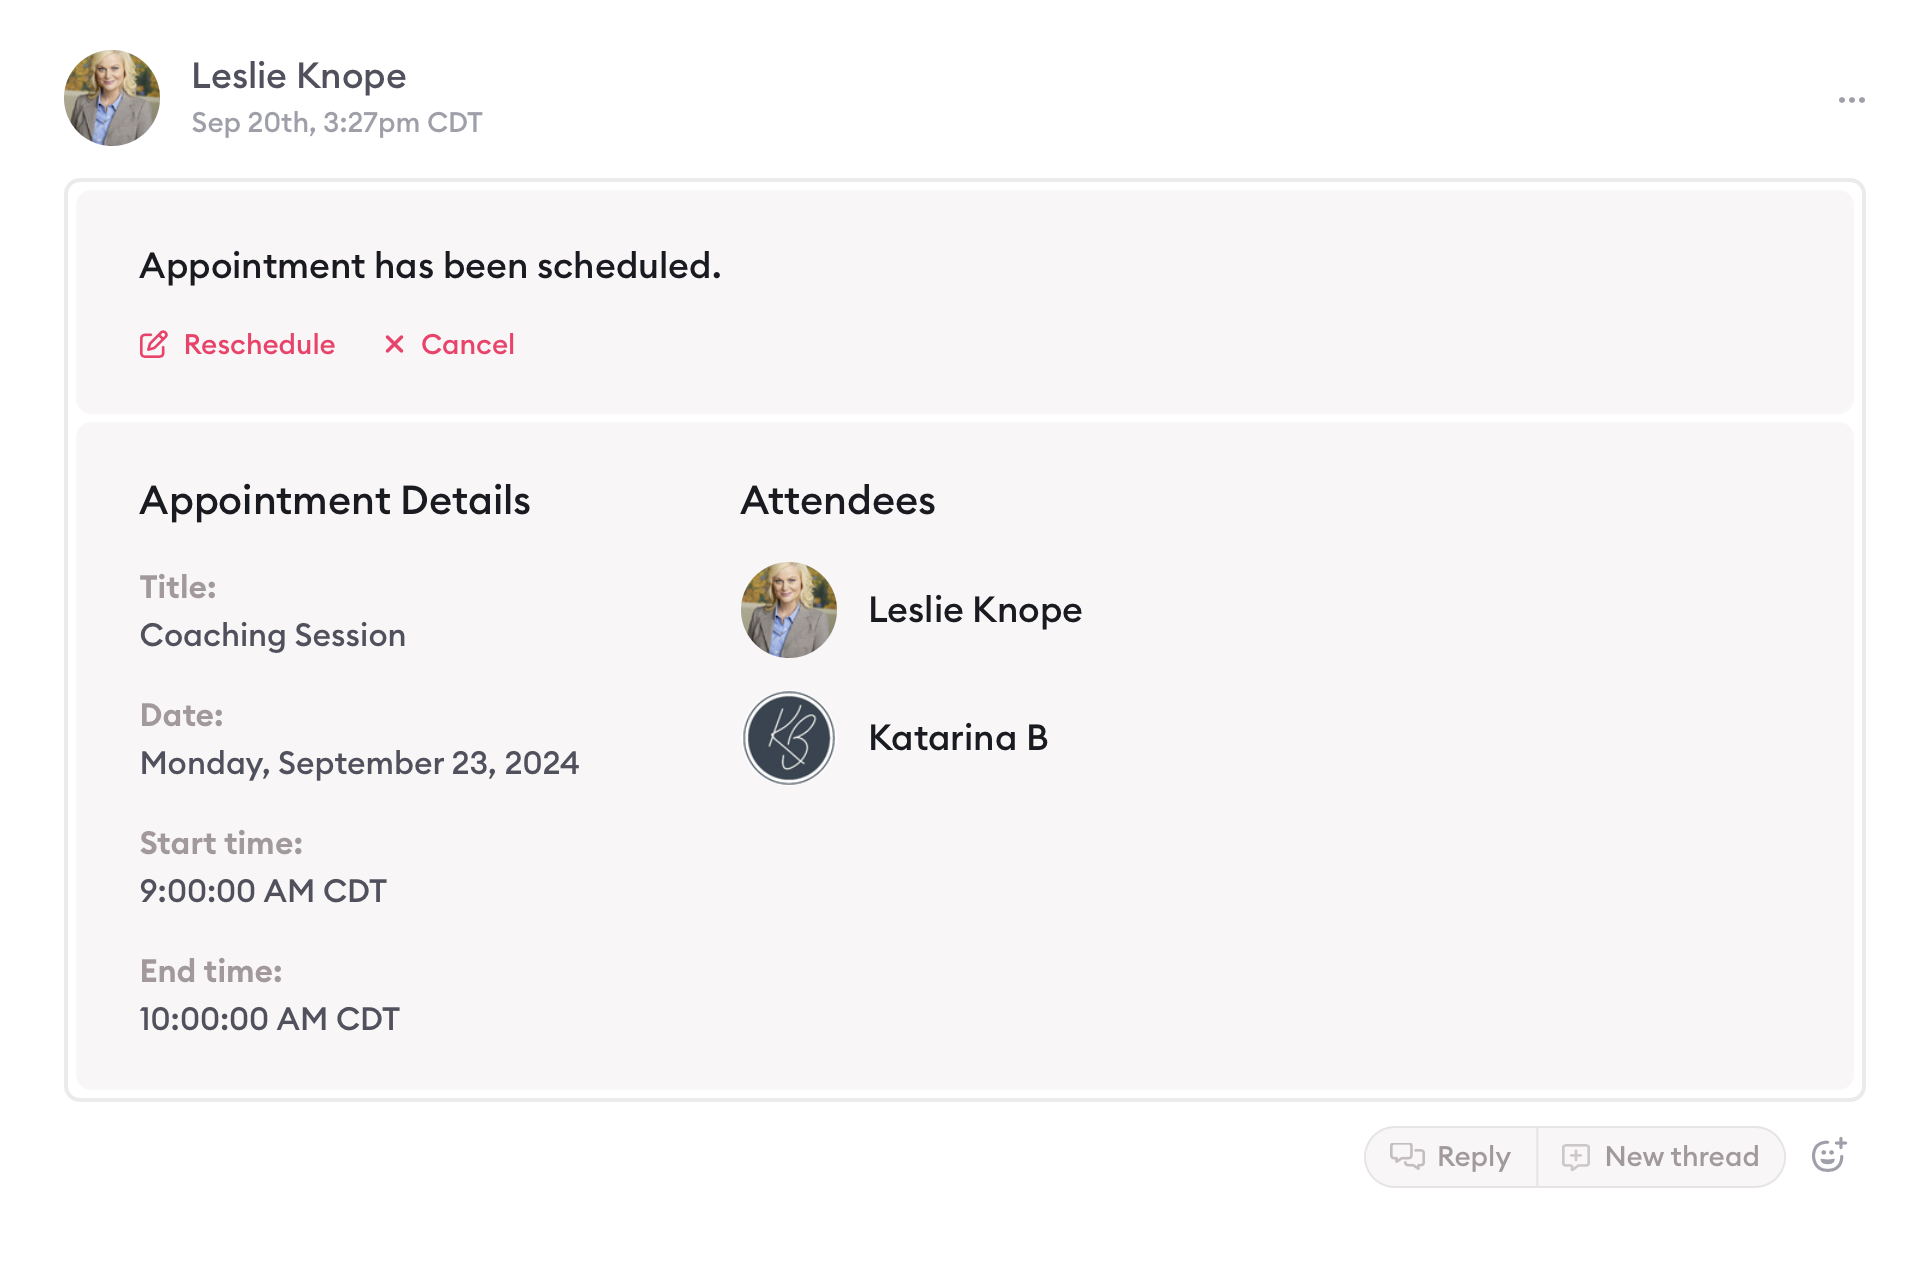
If you opt to have your appointment type create a new conversation, Clarityflow will create a new Clarityflow conversation between you (or your assigned team members) and the person who booked. That conversation will contain your appointment details directly at the top.
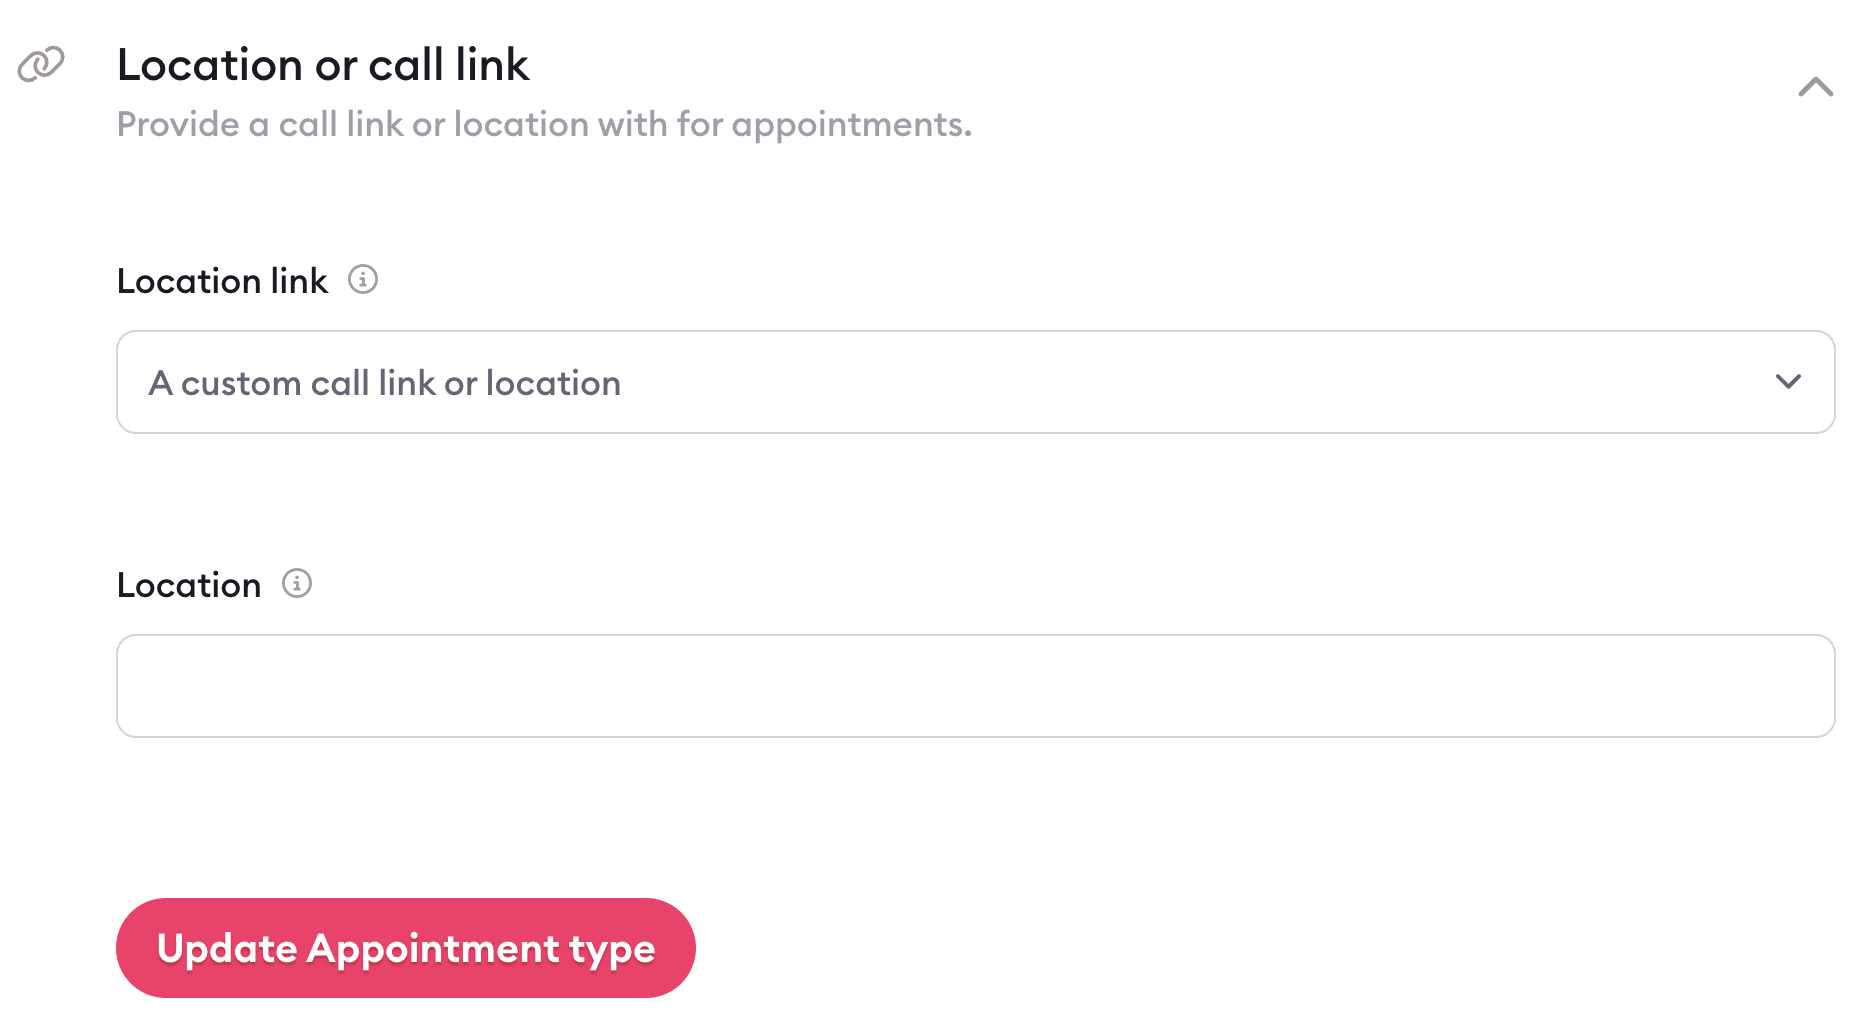
Location or call link
You can include a call link or another location. This information gets included in the calendar appointment for both you and your client.
For example, if you're going to use Zoom for a coaching session, select "a custom call link or location" and then paste your Zoom link into the "location" field.
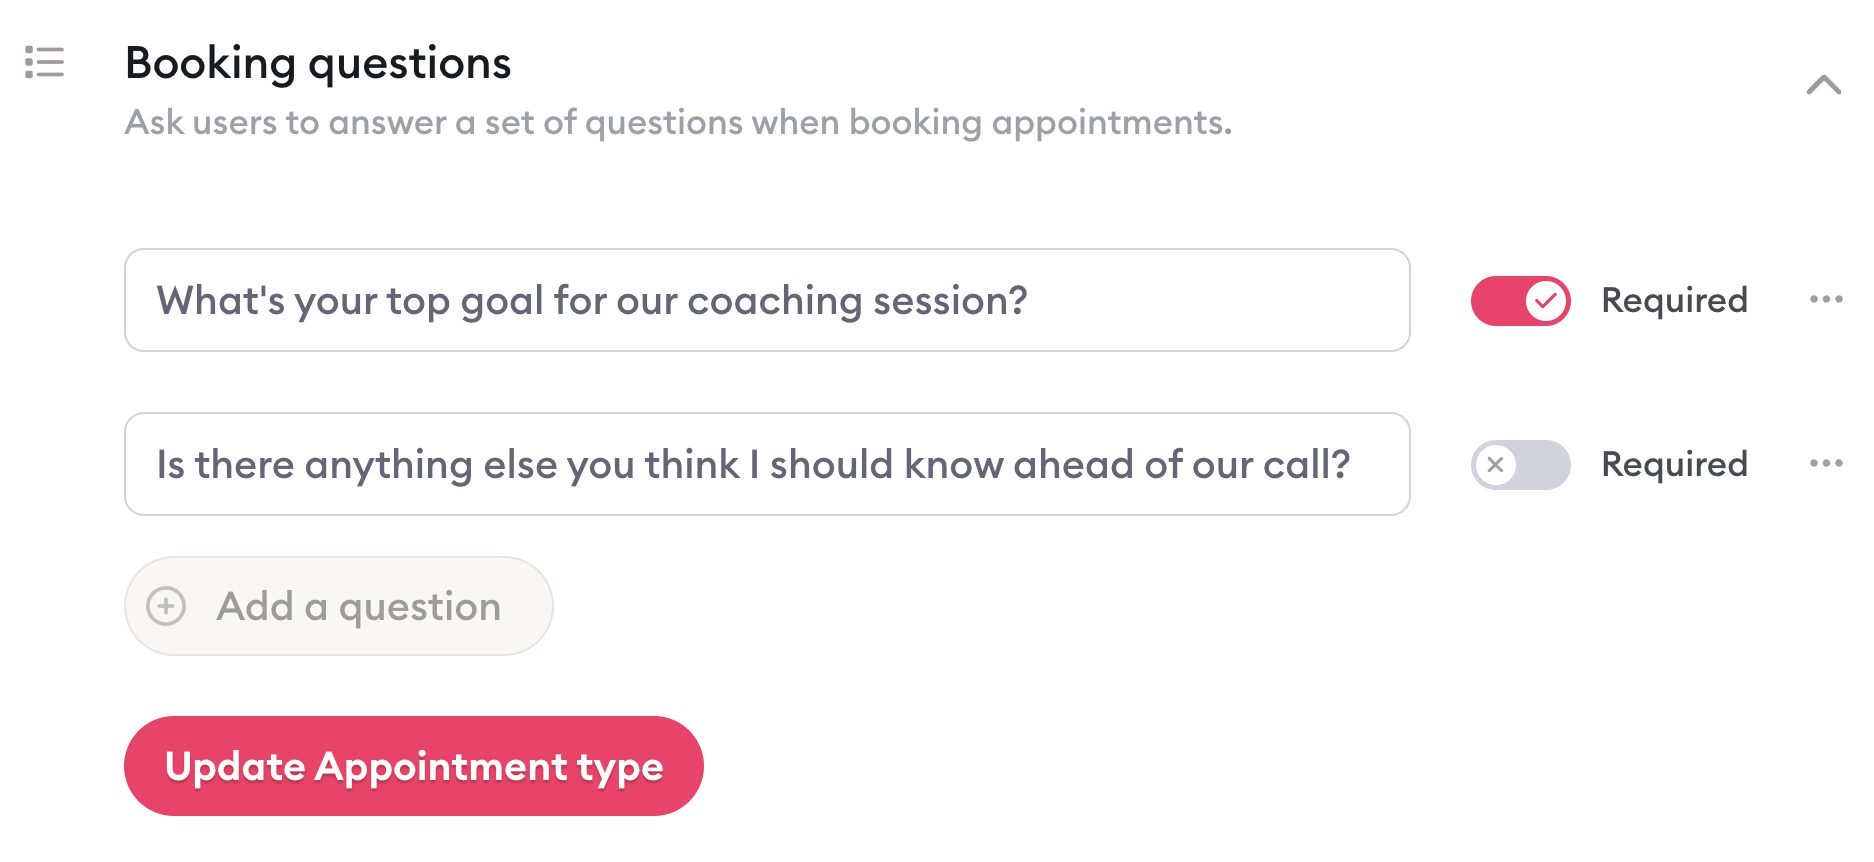
Booking questions
Need to collect information from a person before your appointment? Use this booking questions menu to add booking questions, reorder them, or mark them as required.
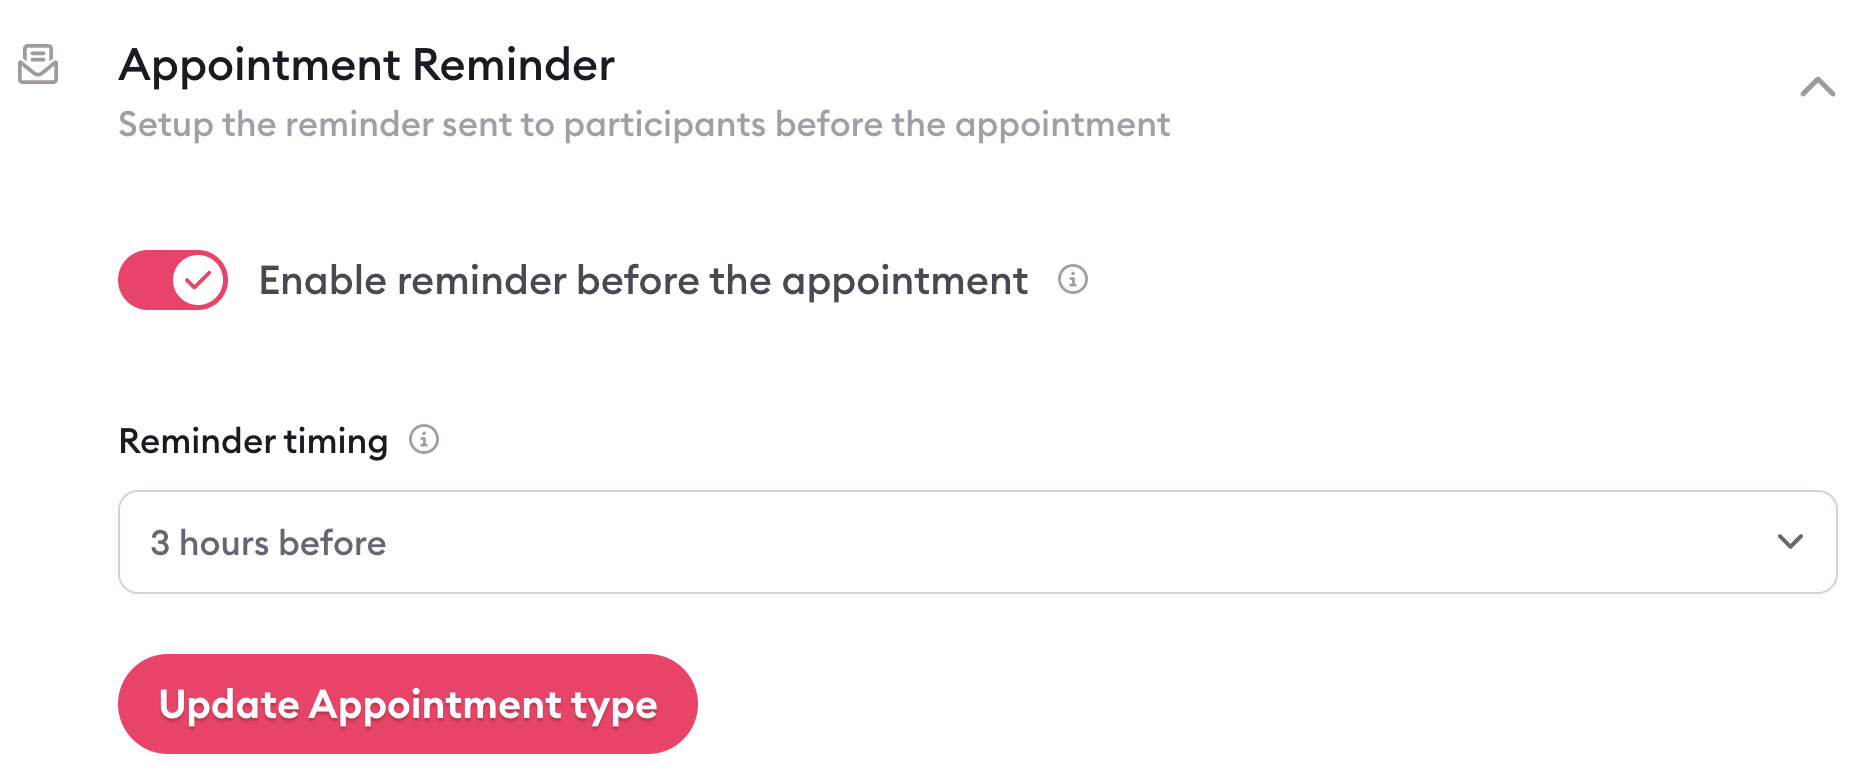
Appointment reminder
Finally, you can decide whether or not you want to send a reminder ahead of your appointment. If so, you can also specify the timing for that reminder notification (e.g. three hours before the appointment).
Learn more about Clarityflow.