Create and customize your availability
You can create different appointment types in Clarityflow Appointments—but you can also set up different availabilities to assign to those appointment types.
For example, maybe you do:
Coaching sessions Monday through Friday
Consultation calls only on Tuesdays and Thursdays
Here's how to set different availabilities in Clarityflow and limit the time windows when your clients can schedule with you.
1. Navigate to availabilities
Click Appointments > Settings > Availabilities.
2. Edit the existing availability or add a new one
Your Clarityflow account comes with one pre-set availability by default (set to Monday through Friday from 9am to 5pm). You can customize that availability as well as add new ones by pressing "New Availability" in the top right corner.
3. Customize your availability
Click on an existing availability (or add a new one) to customize your details and available time windows.
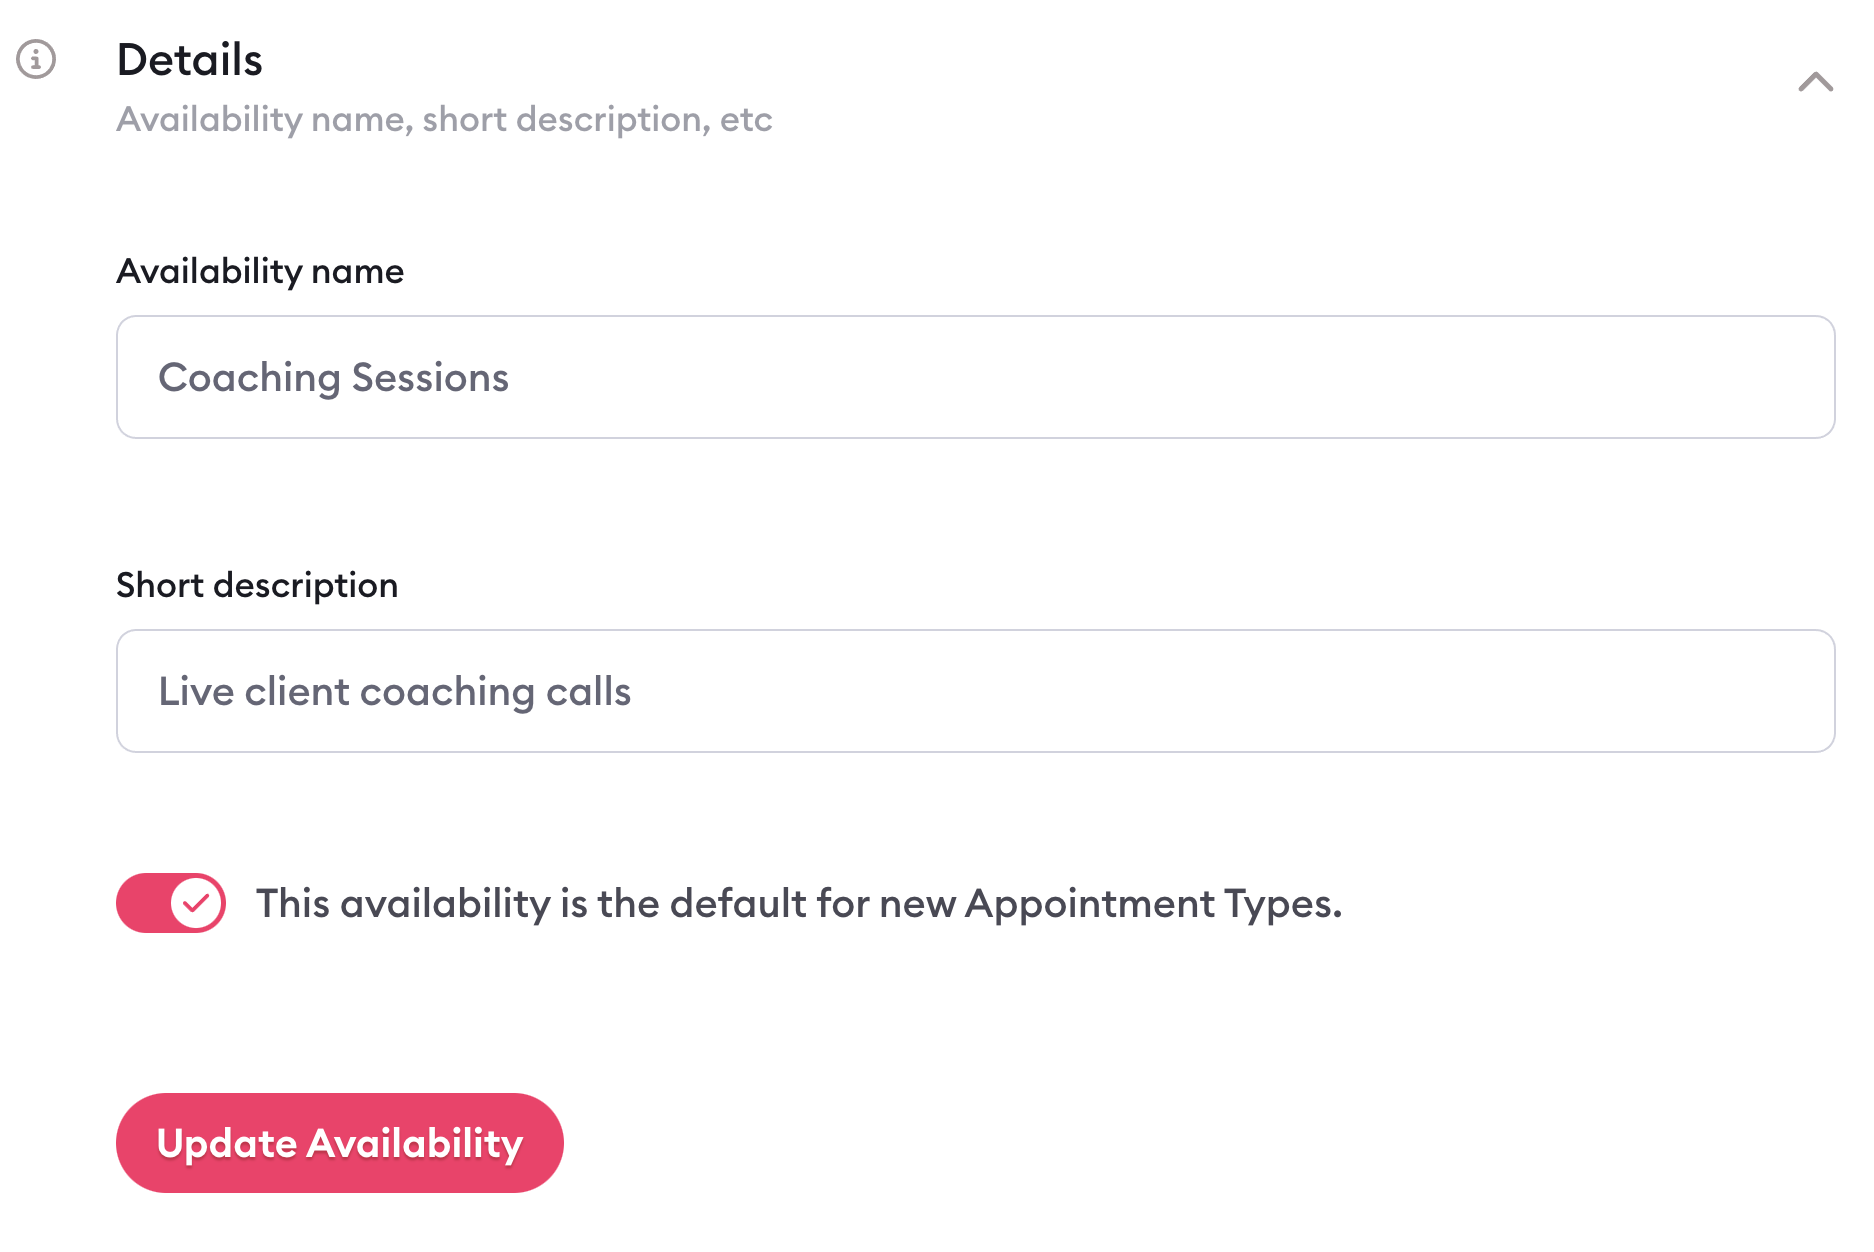
Under your availability's details, you'll customize the name of this type of availability (e.g. "Coaching Sessions"), add a short description, and select whether this availability should be your default.

NOTE: You need to select one availability as your default. This availability is automatically applied to all of your new appointment types. But don't worry—you can change this when setting up your Appointment type.
When it's your default, it means it's auto-selected as your availability in the dropdown menu on that appointment type. But you can easily change it by selecting an alternate availability to use.
4. Adjust and edit your available time blocks
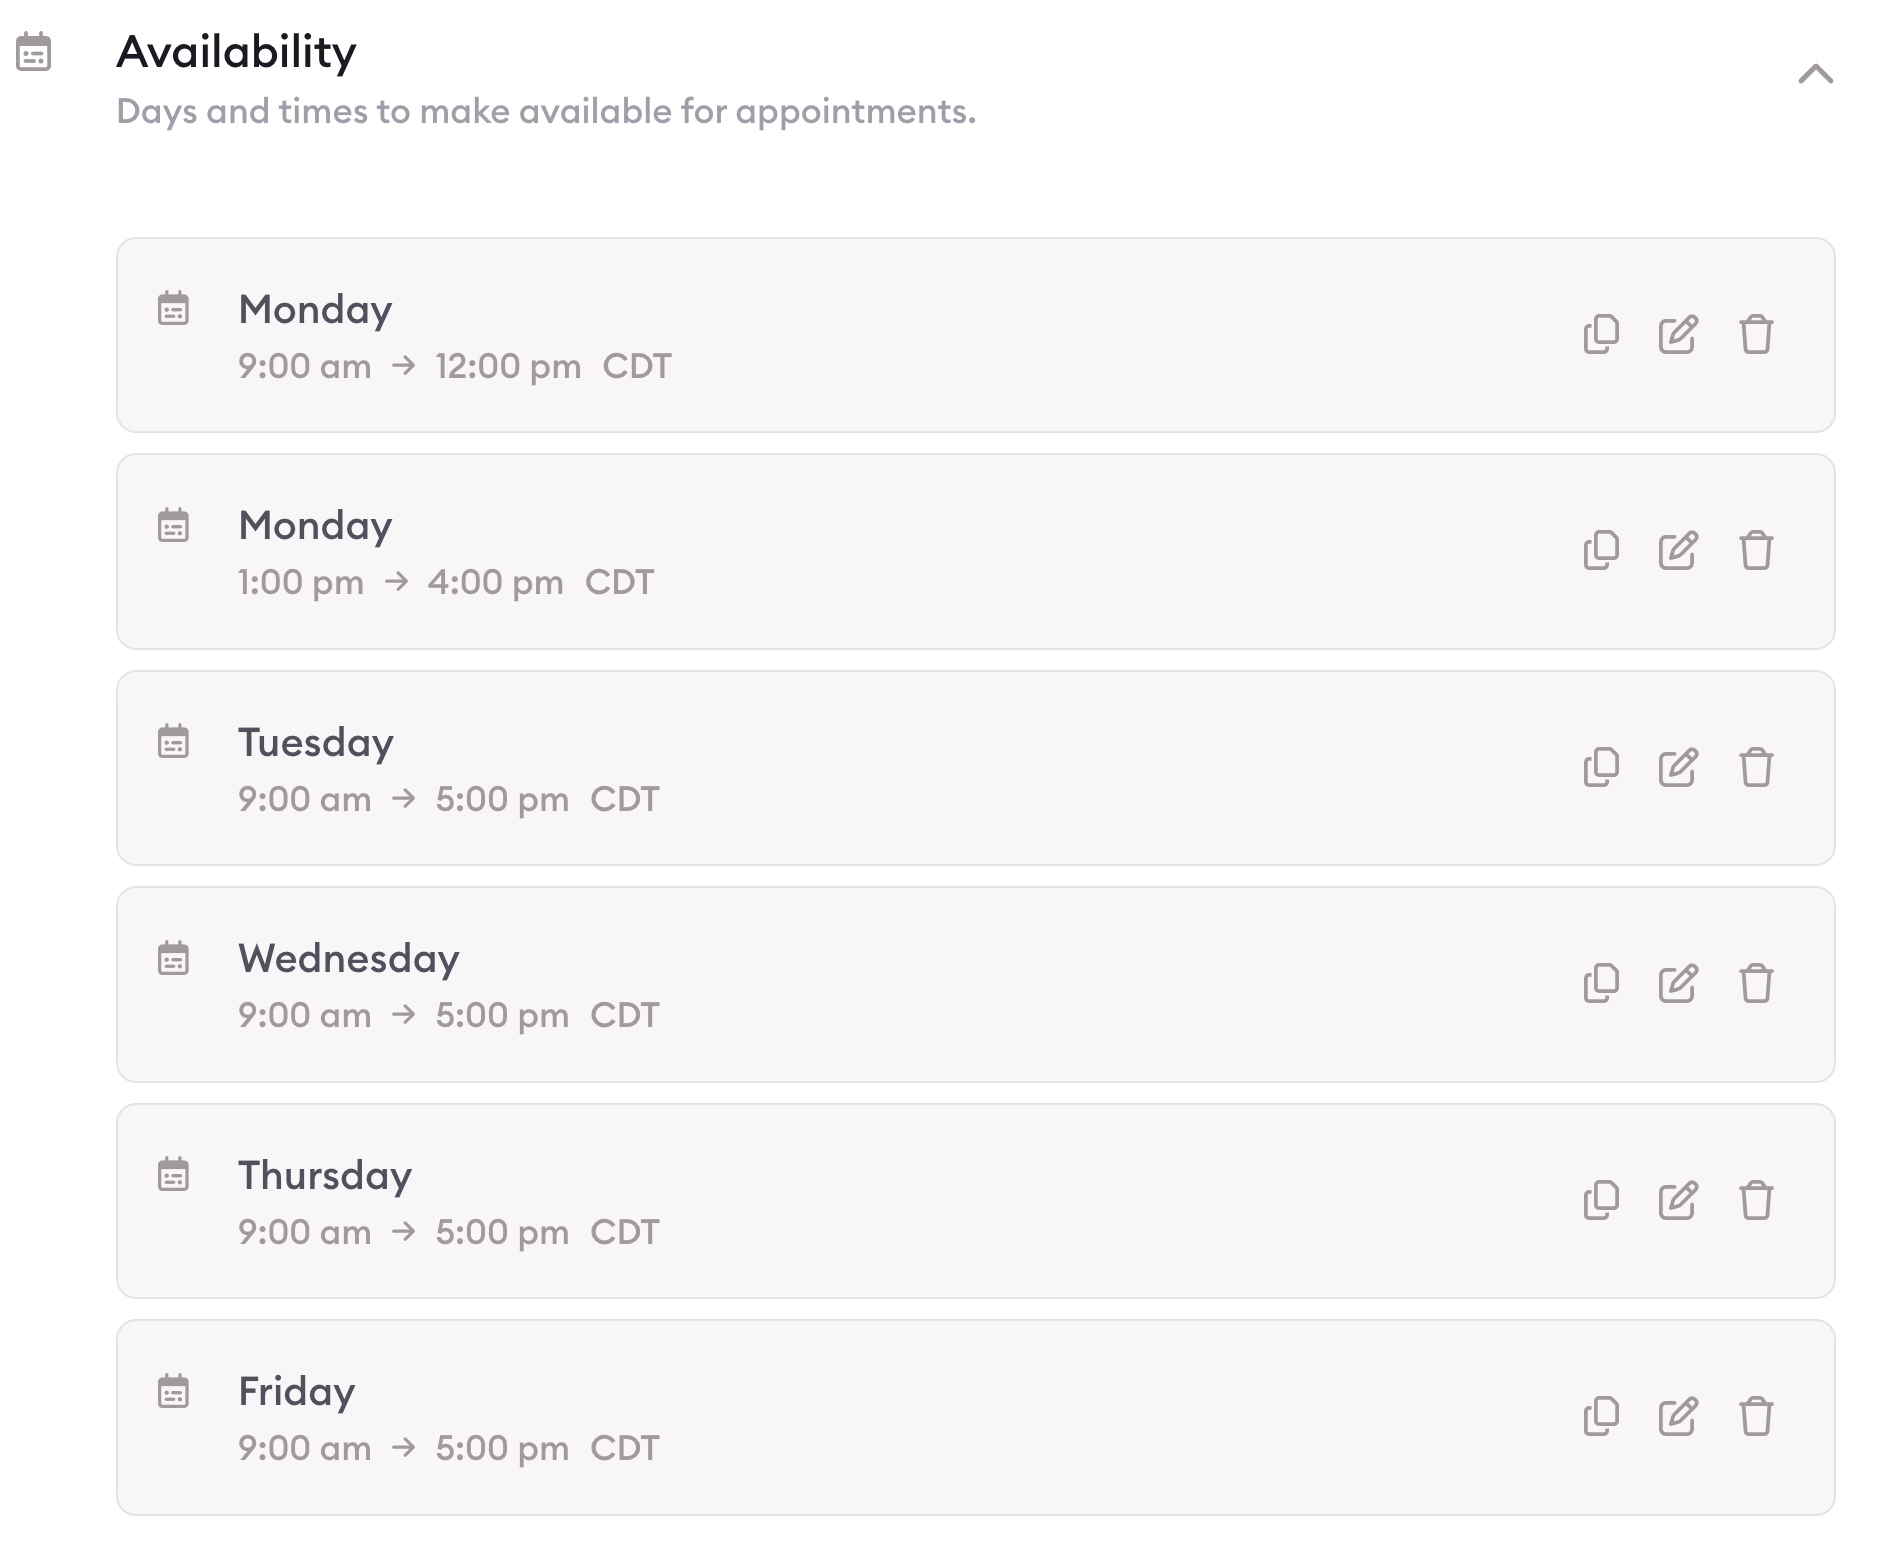
Now you can customize the time windows to control exactly when you're available for appointments. You can use the:
Pencil icon: This edits an existing time block
"Add a block" button: To add a new time block
Copy icon: To copy that time block and apply it to another day (this is a real time-saver!)
Trash can icon: To delete a time block
Let's say you're available for coaching sessions on Monday from 9am to 12pm and then again from 1pm to 4pm. That means you'd want to create two separate Monday time blocks:
One for 9am to 12pm
One for 1pm to 4pm

Again, if you've connected your Google calendar, Clarityflow will factor any other appointments from your calendar into your available time slots as well.
NOTE: It's not recommended to use "all day events" to block off an entire day in your Google Calendar. Instead, on your Google calendar, block off specific hours for that day. For example, create an event called "Unavailable" or "No calls" that starts at 9am and ends at 5pm.
5. Apply the right availability to the right appointment
Once you've set up your different availabilities, it's easy to apply them to your different appointment types.
Navigate to Appointments > Scheduling Links to edit your appointment types or add a new one.
Under the "Availability" menu, select the availability you want to apply from the dropdown. For example, when setting up your "Coaching Session" appointment type, you'd want to apply your "Coaching Session" availability so Clarityflow can automatically limit the days and times people can book sessions with you based on the rules you've already defined.

You can learn more about setting up your appointment types in this detailed guide.
Learn more about Clarityflow.