Manage your form's spam protection preferences
You don't want to have to wade through endless spam submissions, which is why Clarityflow's Forms feature has built-in spam protection to save you from junk responses.
You have full control over your spam protection preferences. This depends on one important factor: whether or not you're using a custom domain with Clarityflow. Click the link below that describes your situation to get the right directions for you:
Not using a custom domain: Using Clarityflow's built-in spam protection
Using a custom domain: Managing spam protection with a custom domain
Using Clarityflow's built-in spam protection
You will set spam protection preferences for each form in your Form Settings > Form Display > Spam protection preference.
By default, spam protection is set to "invisible," meaning your clients and people who submit responses to your form won't actually see or need to interact with any sort of spam filtering.
However, you can switch to a visible version of spam protection if you'd like. This will display a small widget directly under your form's "Submit" button. You have two different options for this widget:
Here's a closer look at each of these options and how they look to people submitting responses to your form.
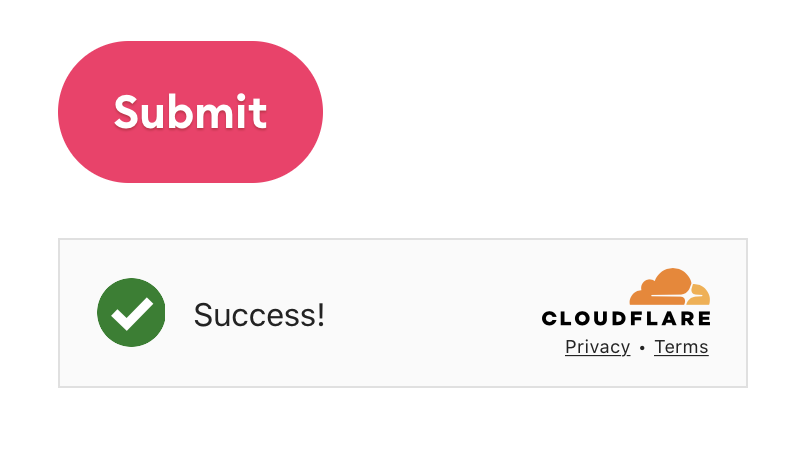
Non-interactive widget
This requires no interaction from the person submitting the form. They'll see the widget, but it will automatically check for spam and display a "success" message—no action required.
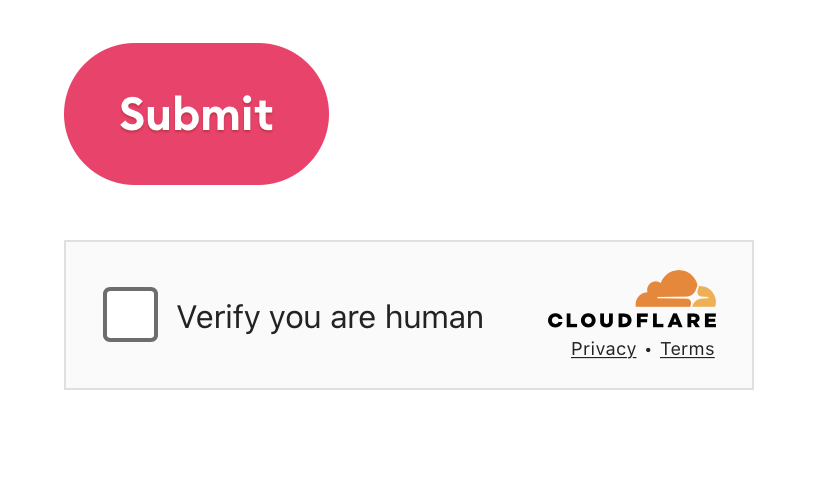
Checkbox widget
With this option, the person submitting your form will need to click the checkbox to confirm they're human before submitting.
Alternatively, you can also disable spam protection entirely. But, we recommend keeping it on to better control and weed out any spam responses.
Managing spam preferences with a custom domain
When you're using a custom domain with Clarityflow, the built-in spam protection won't work for your forms. Instead, you can install your own solution to protect your form from spam responses. You have two options here:
Let's take a closer look at how to do each of these.
Add your own Google reCAPTCHA to your forms
Follow these steps to add your own Google reCAPTCHA to your Clarityflow forms:
1. Visit this link
2. Click v3 Admin Console at the top of the page
3. You'll land on one of the following pages:
If you don't have any existing reCAPTCHA, you'll land on a create page that looks like this:

If you do have existing reCAPTCHA, you'll land on a page that looks like this:
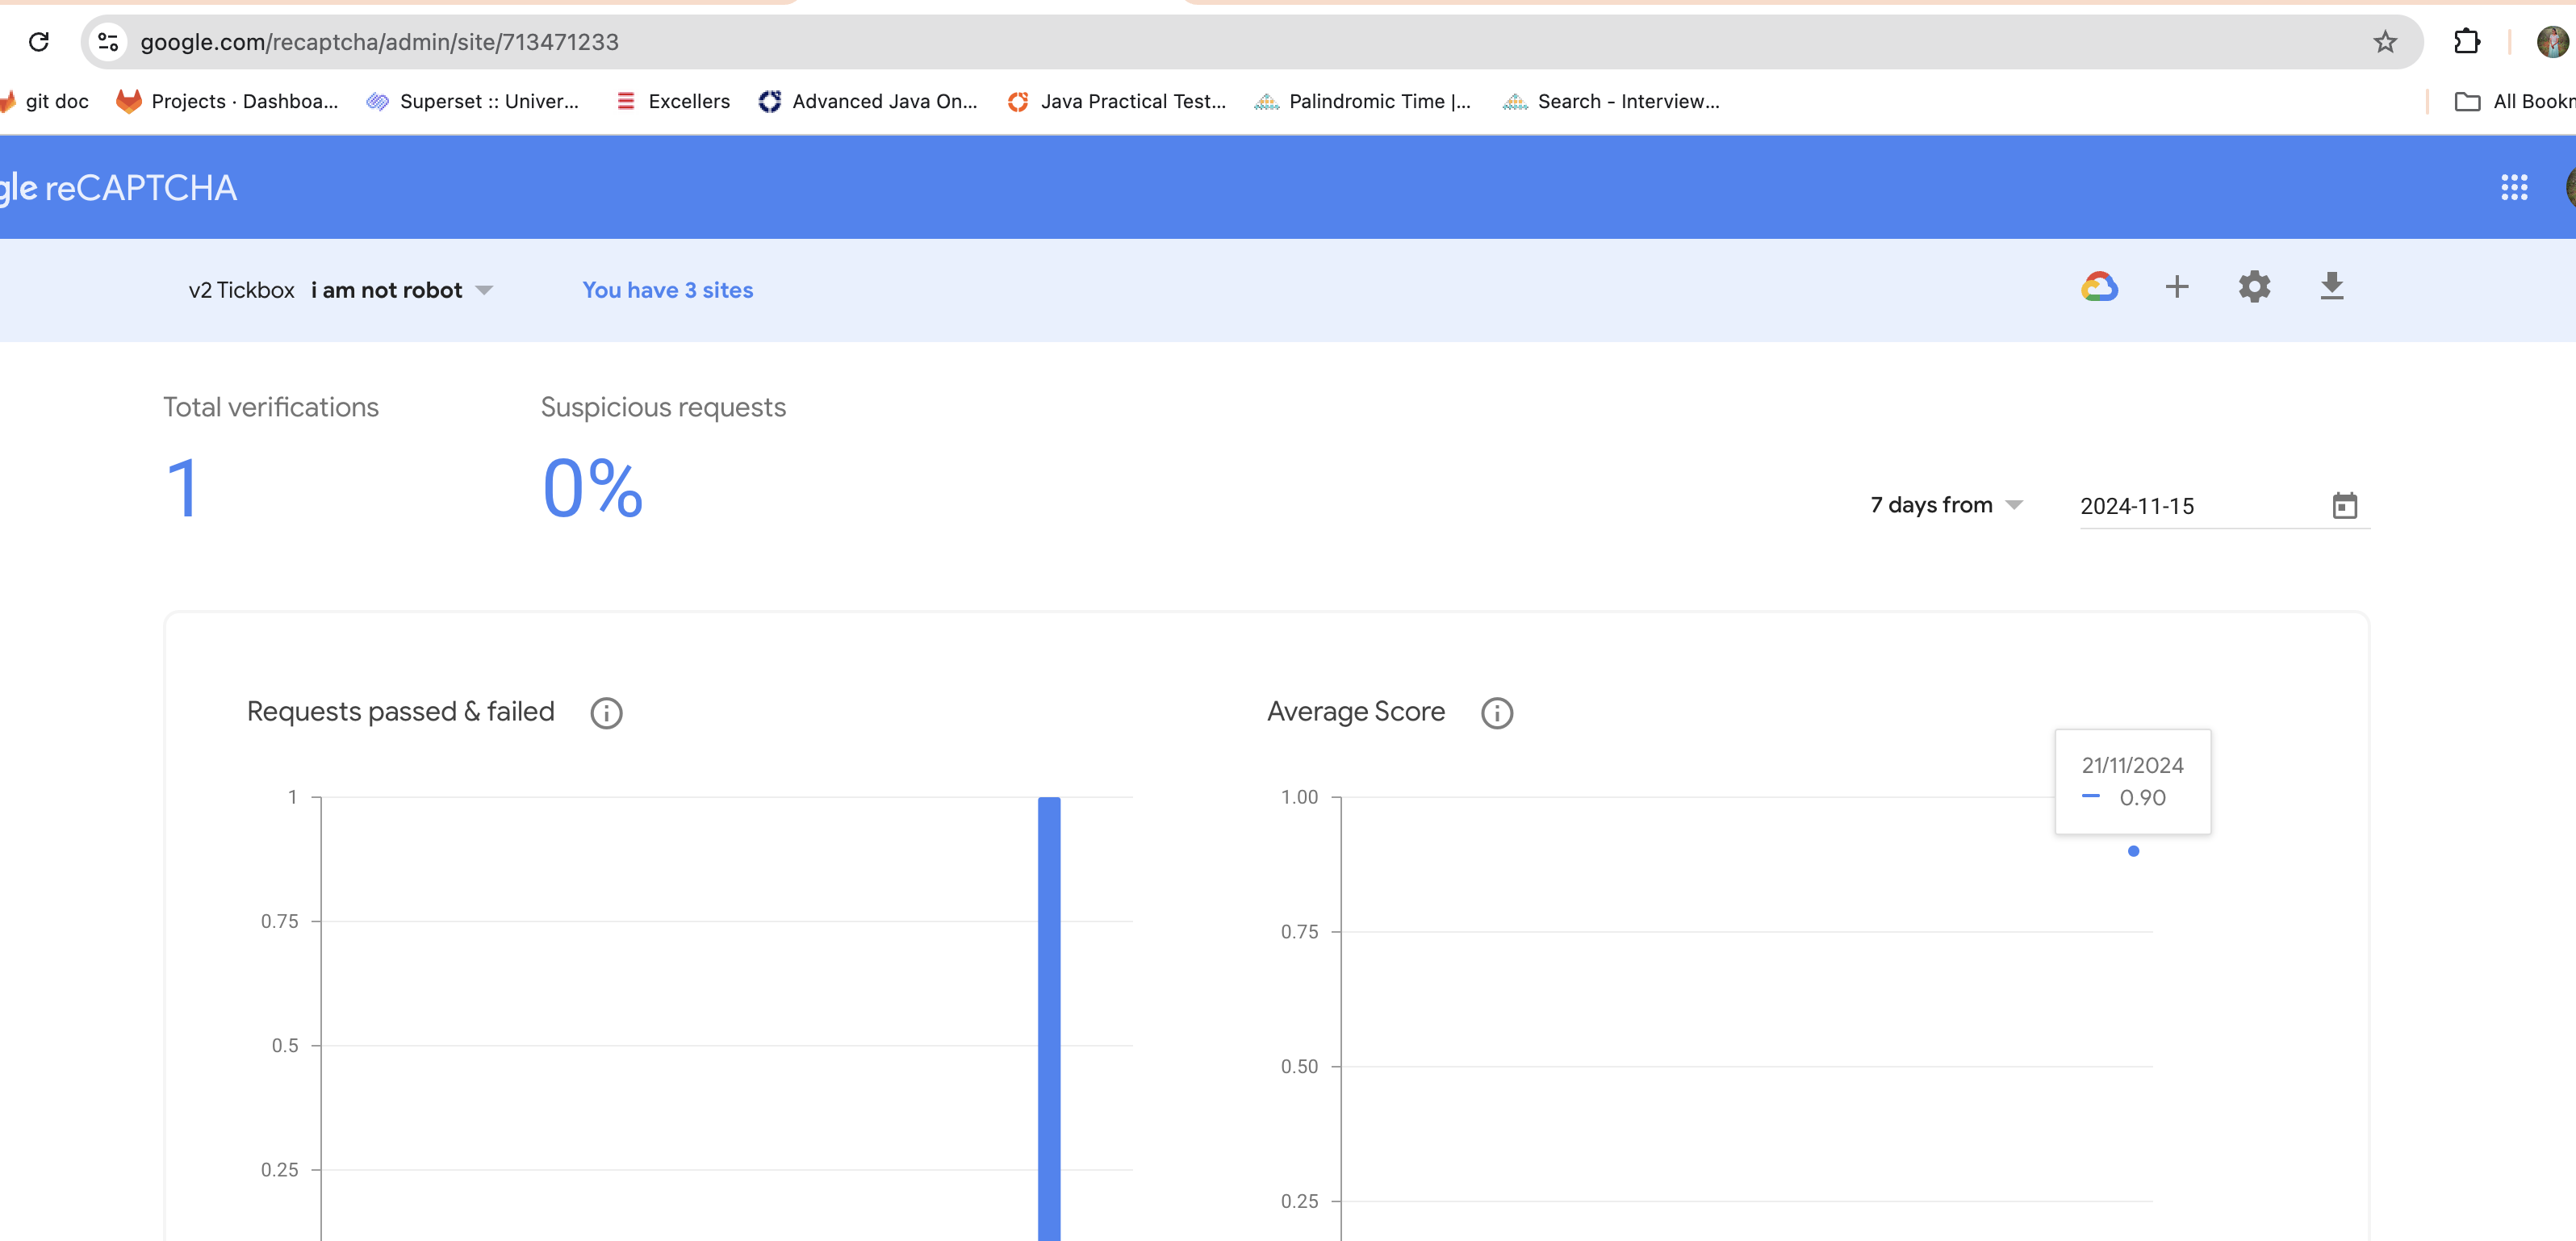
4. In either case, you need to click the + icon to create new keys. When doing so, you'll fill in the following details:
Label: Name your key
reCAPTCHA type: Select a type (you can choose anything except for "score based (v3)")
Domains: Add your custom domain. If your domain is something like example.domain.com, enter only domain.com.
Google Project: Create a name for your project. You reCAPTCHA will live in the project that you name and create here.
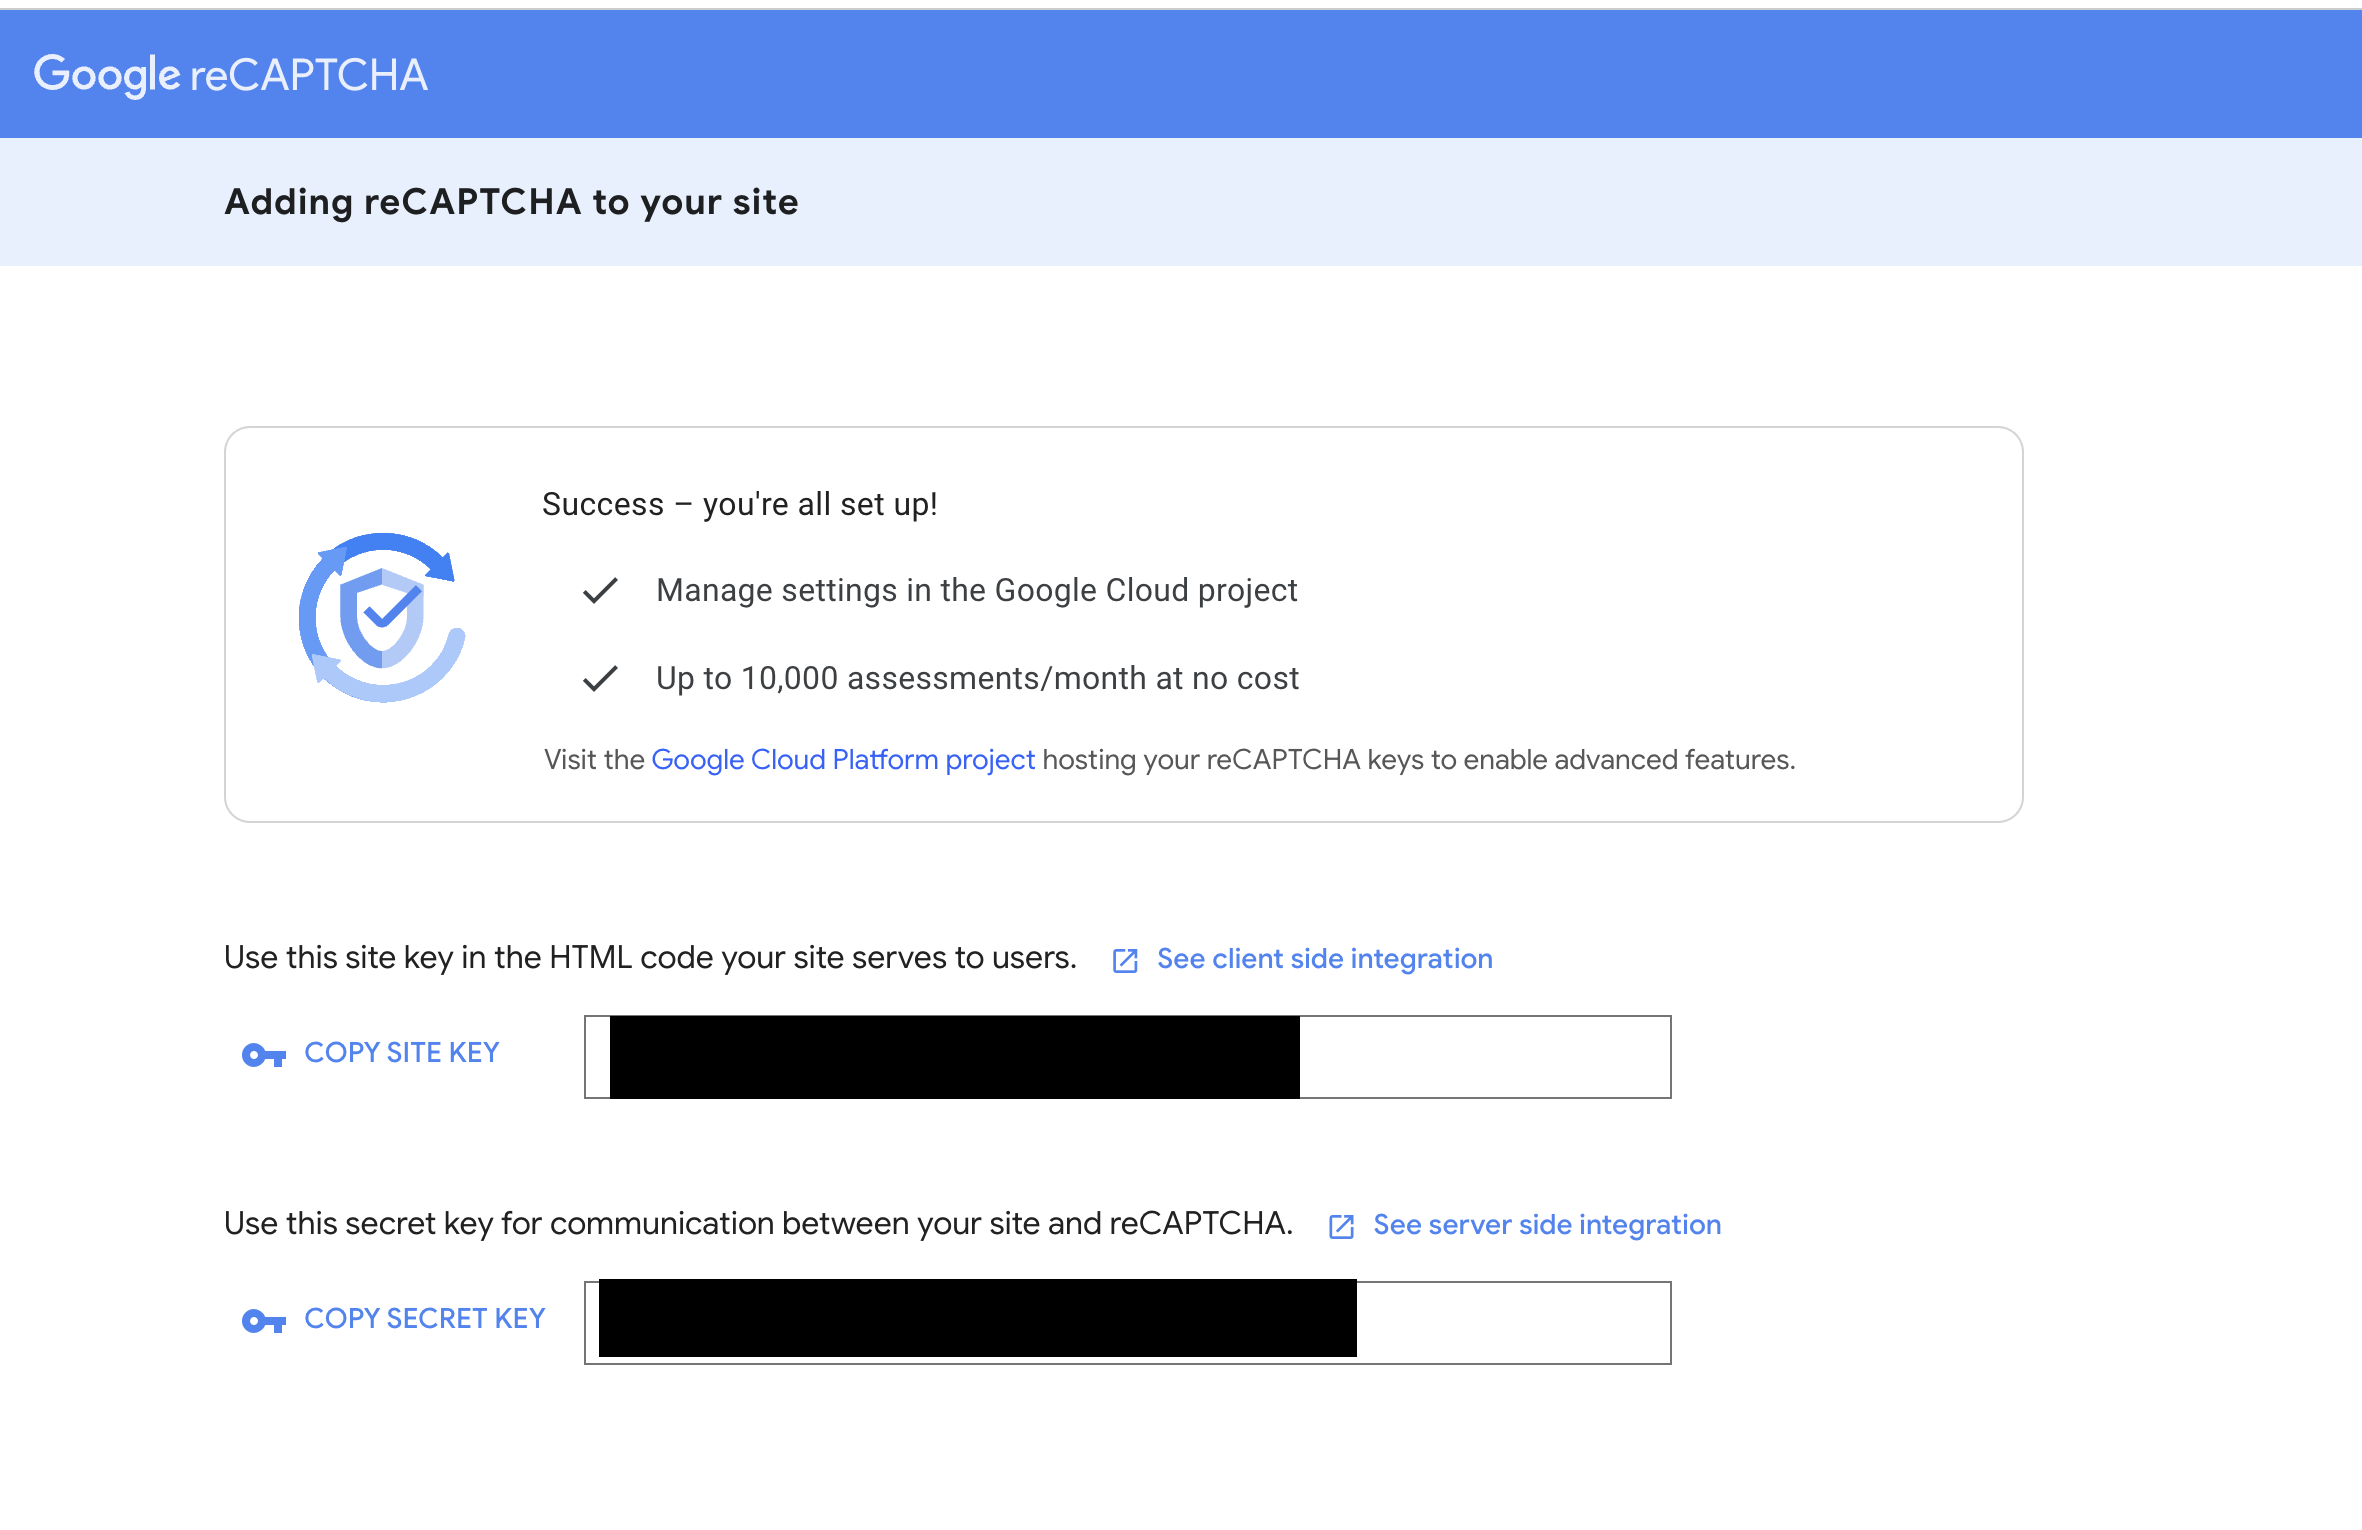
5. Copy your site key and secret key. You'll use these in Clarityflow.
Add your own Cloudflare Turnstile Captcha to your forms
Rather use Cloudflare? Here are the steps to do so:
1. Visit this link
2. Click "start for free"
3. Enter your name and email address to create your Cloudflare account
4. Enter your domain in the designated field. If your domain looks like example.domain.com, enter only domain.com.
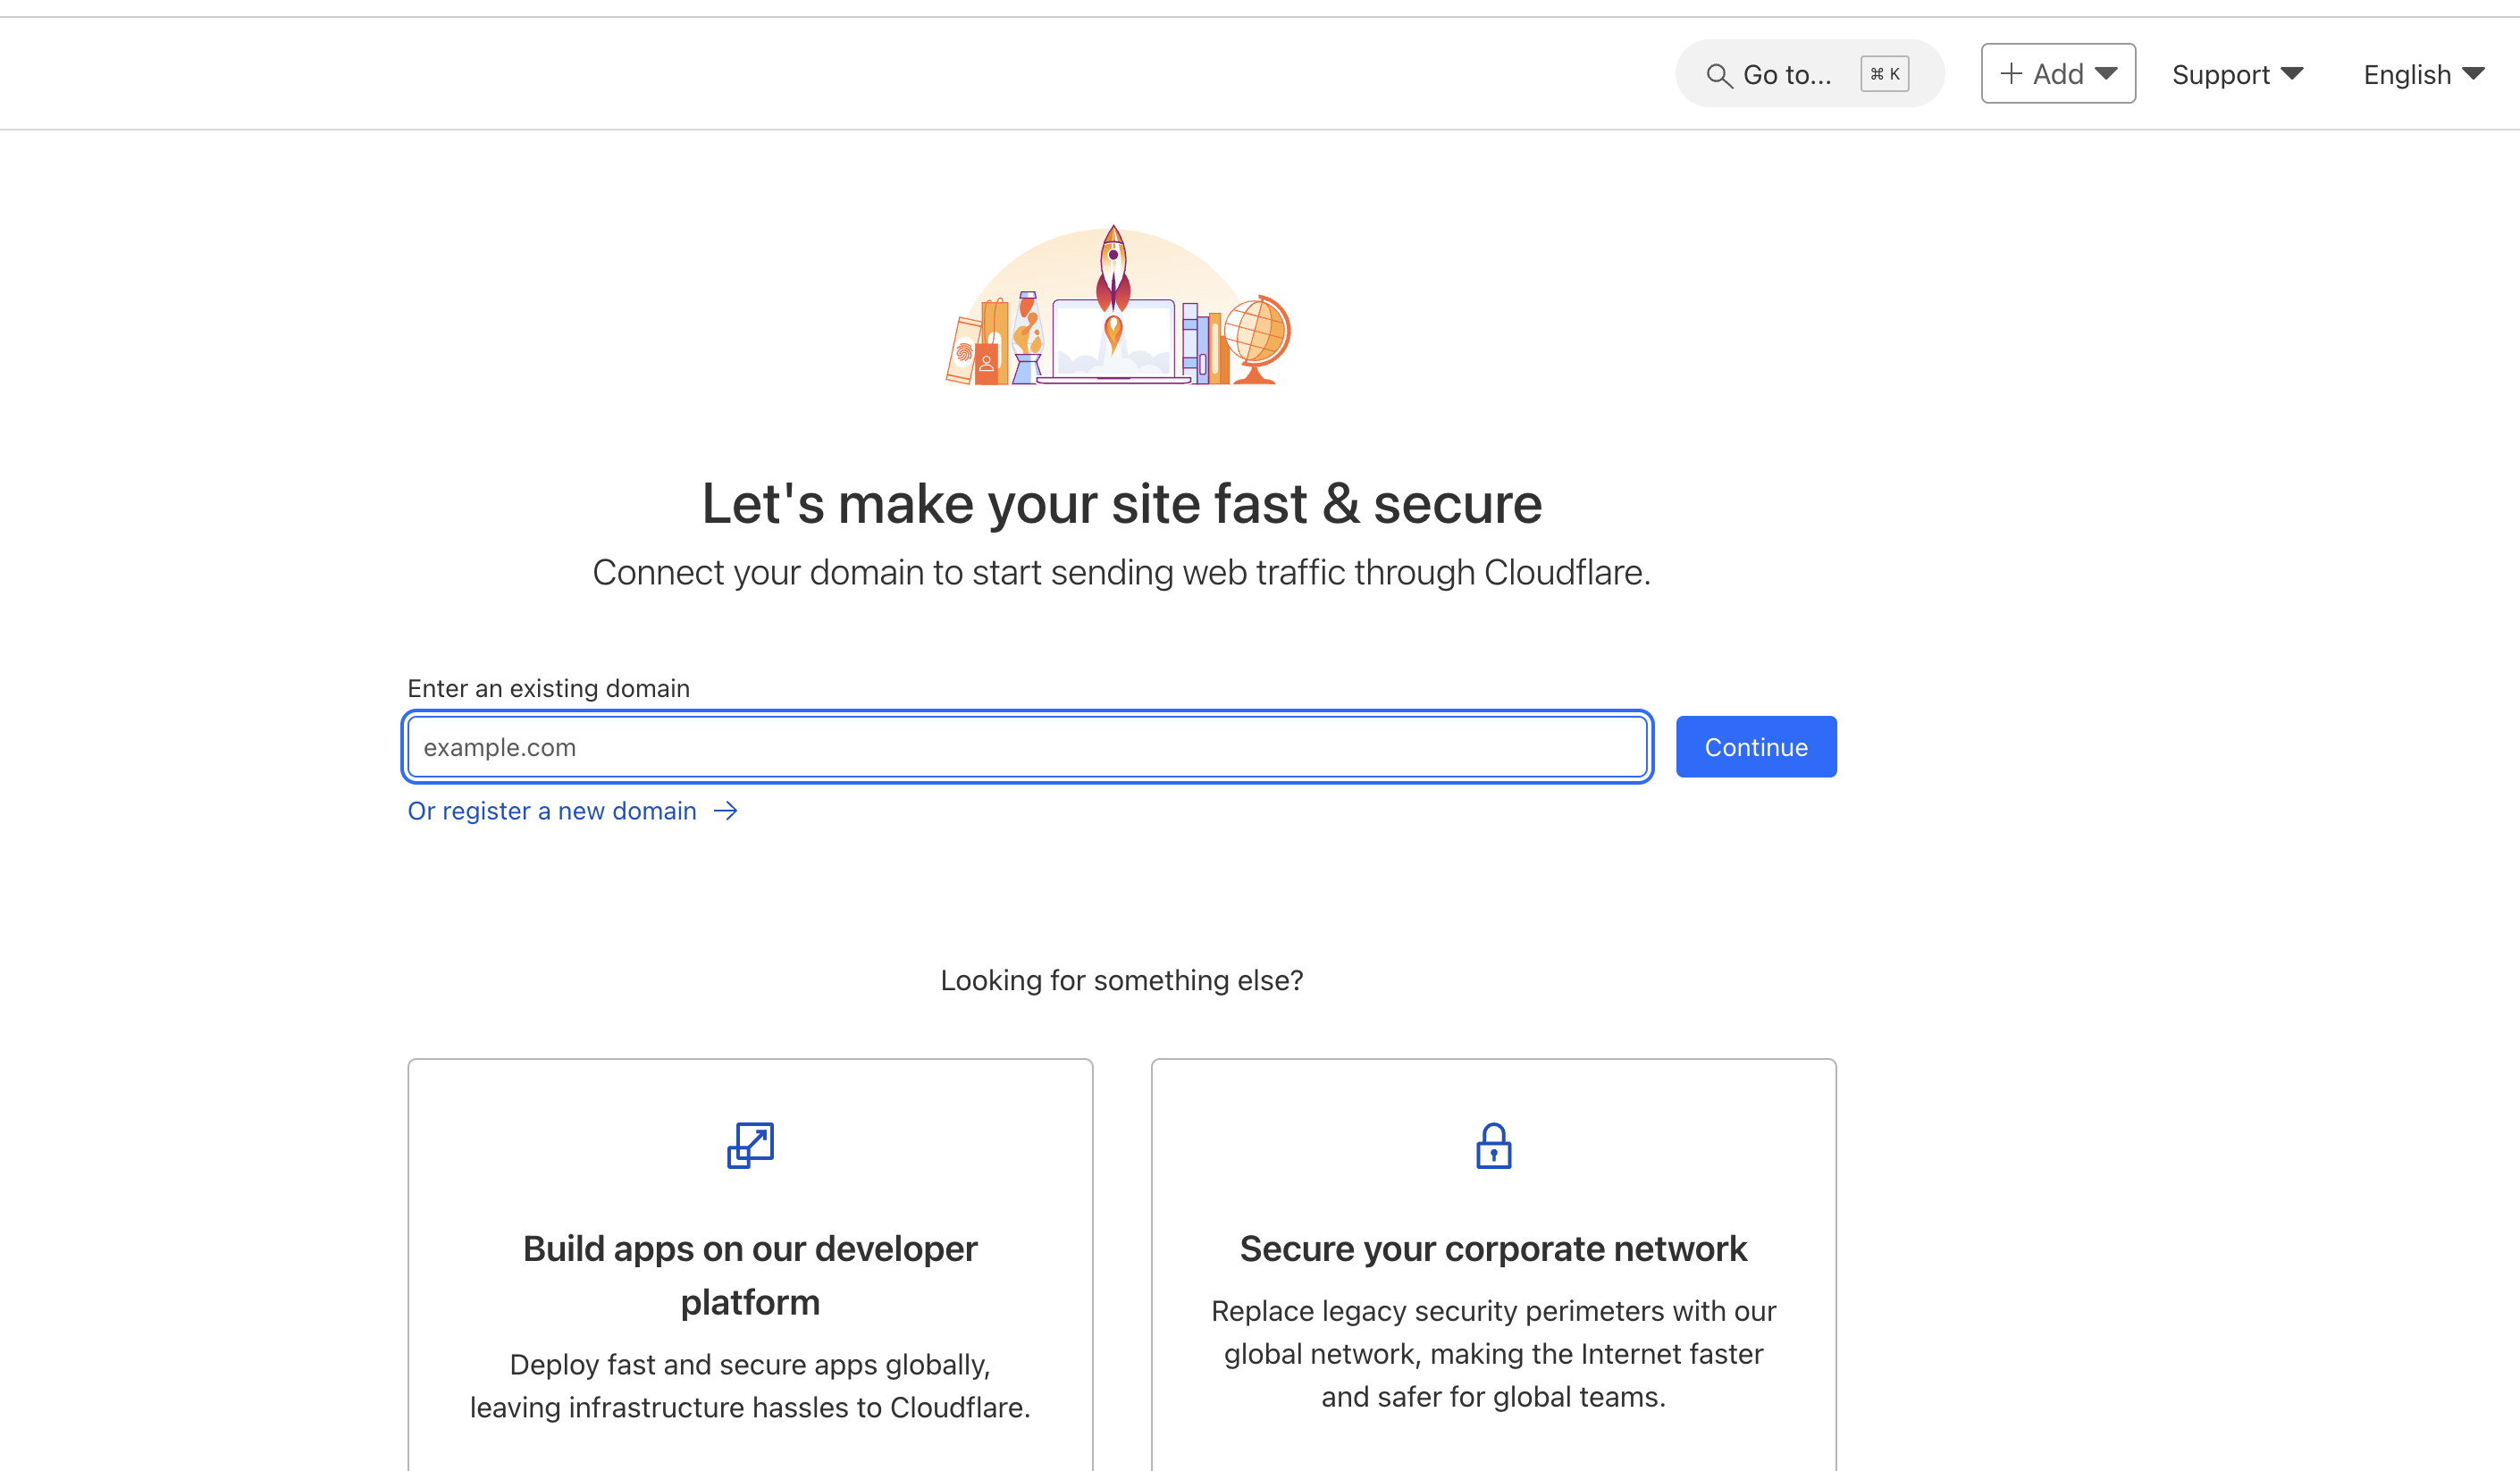
5. Visit the turnstiles link.
6. Click "Add widget"

7. Enter the following details to create a new turnstile:
Widget name
Hostname management (click "Add hostnames")
Select and add your domain (after selecting, click the "Add" button at the bottom)
Widget mode (select your preferred type)
When asked "Would you like to opt for pre-clearance for this site?" leave the "No" option checked

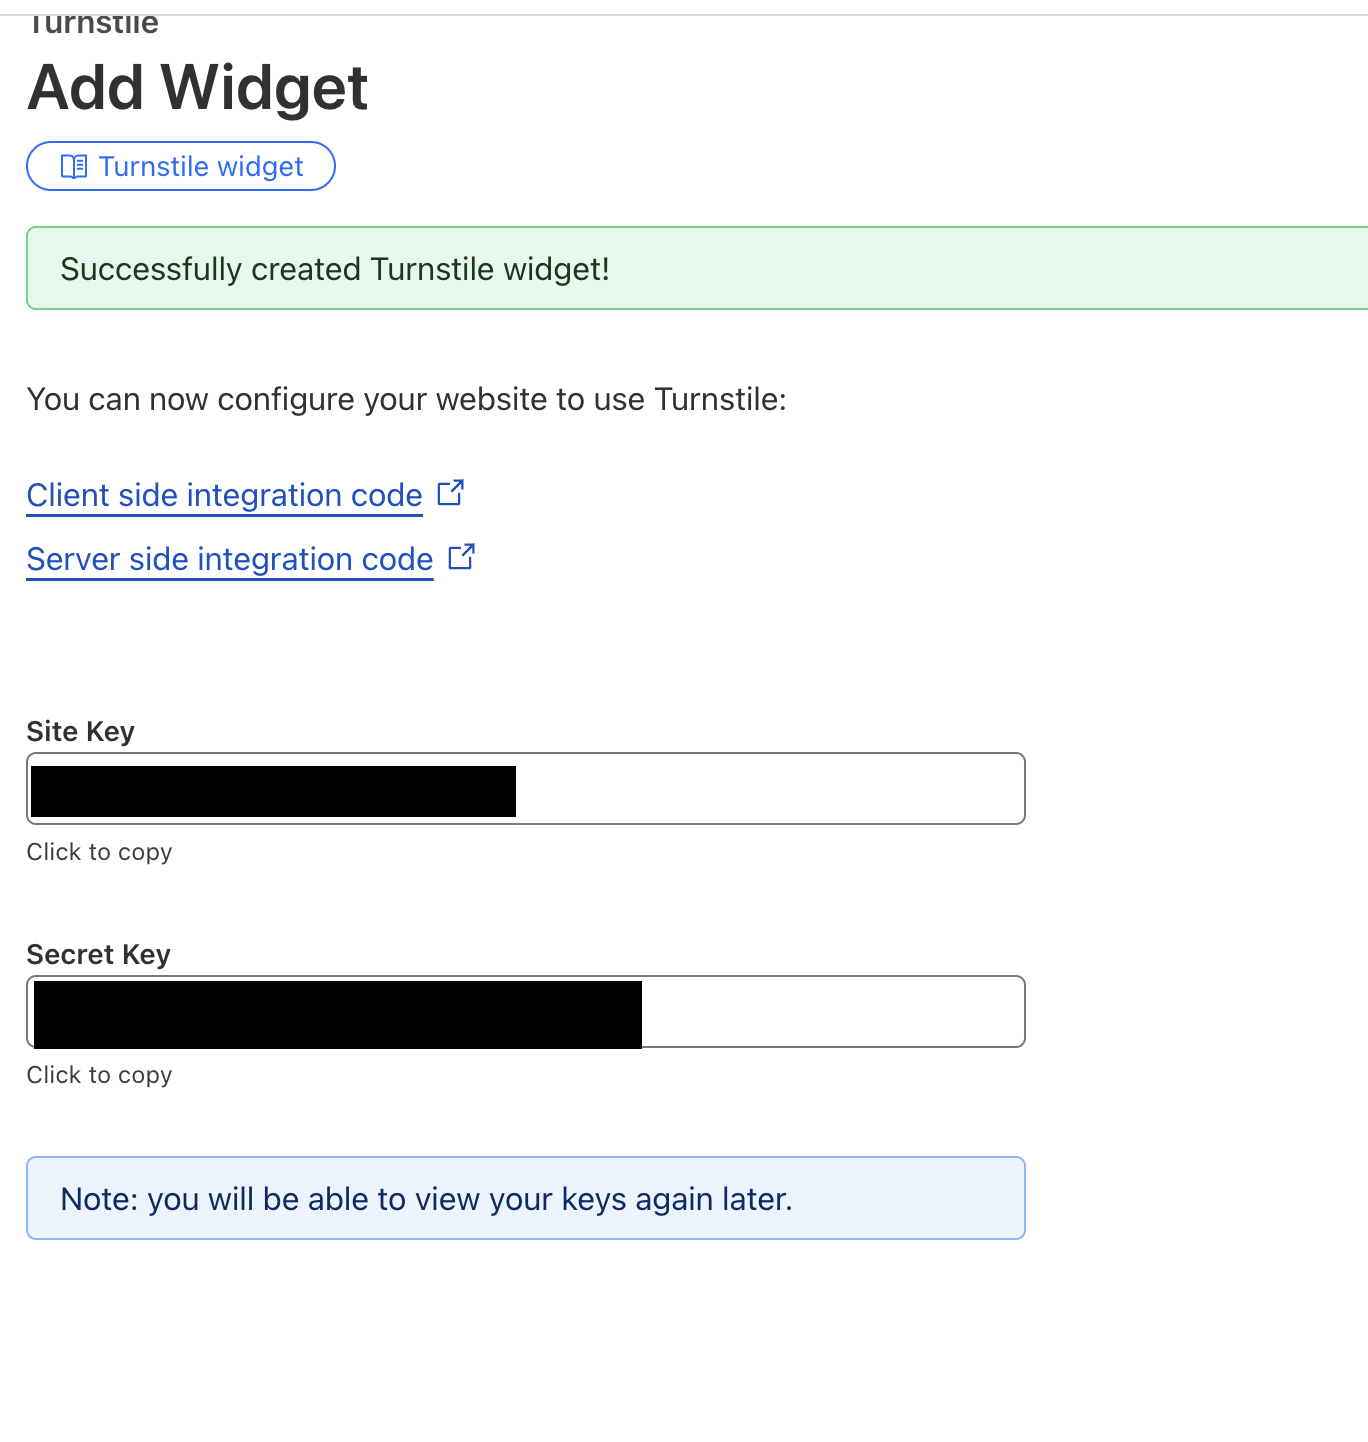
8. Click "create"
This gives you your site key and secret key that you can use on Clarityflow.
Learn more about Clarityflow.