Use Cloudflare to connect a domain to Clarityflow
Ready to connect your custom domain to Clarityflow? Be sure to read our main guide on custom domains here first.
The following are instructions for using Cloudflare's DNS to create a CNAME record for your domain, pointing to Clarityflow.
Cloudflare is generally a great service for managing many aspects of your domain, including its DNS records. It's particularly useful when you want to map your apex domain (a.k.a. "naked" domain) without www or a subdomain using a CNAME record, as it's one of the only DNS providers that offers this ability using a CNAME.
Cloudflare DNS instructions for mapping your domain to Clarityflow
Note: The exact interface and details on Cloudflare may have changed since we documented this.
Before you start: You'll need to ensure that your domain's DNS is managed at Cloudflare. We won't cover this step here, but here are a few pointers:
Changing your domain's DNS from your current provider to Cloudflare will involve changing your domain's nameservers to point to Cloudflare's. This can be risky and can cause downtime if you're currently using your domain for your website and/or email.
You don't need to move or change your domain's registrar to change where its DNS is managed.
Using Cloudflare's DNS management should typically only require Cloudflare's free plan.
Assuming your domain's DNS is managed on Cloudflare, follow these steps to connect your domain to Clarityflow:
First, input your custom domain in Clarityflow custom domain settings. For details on this, see the main guide here.
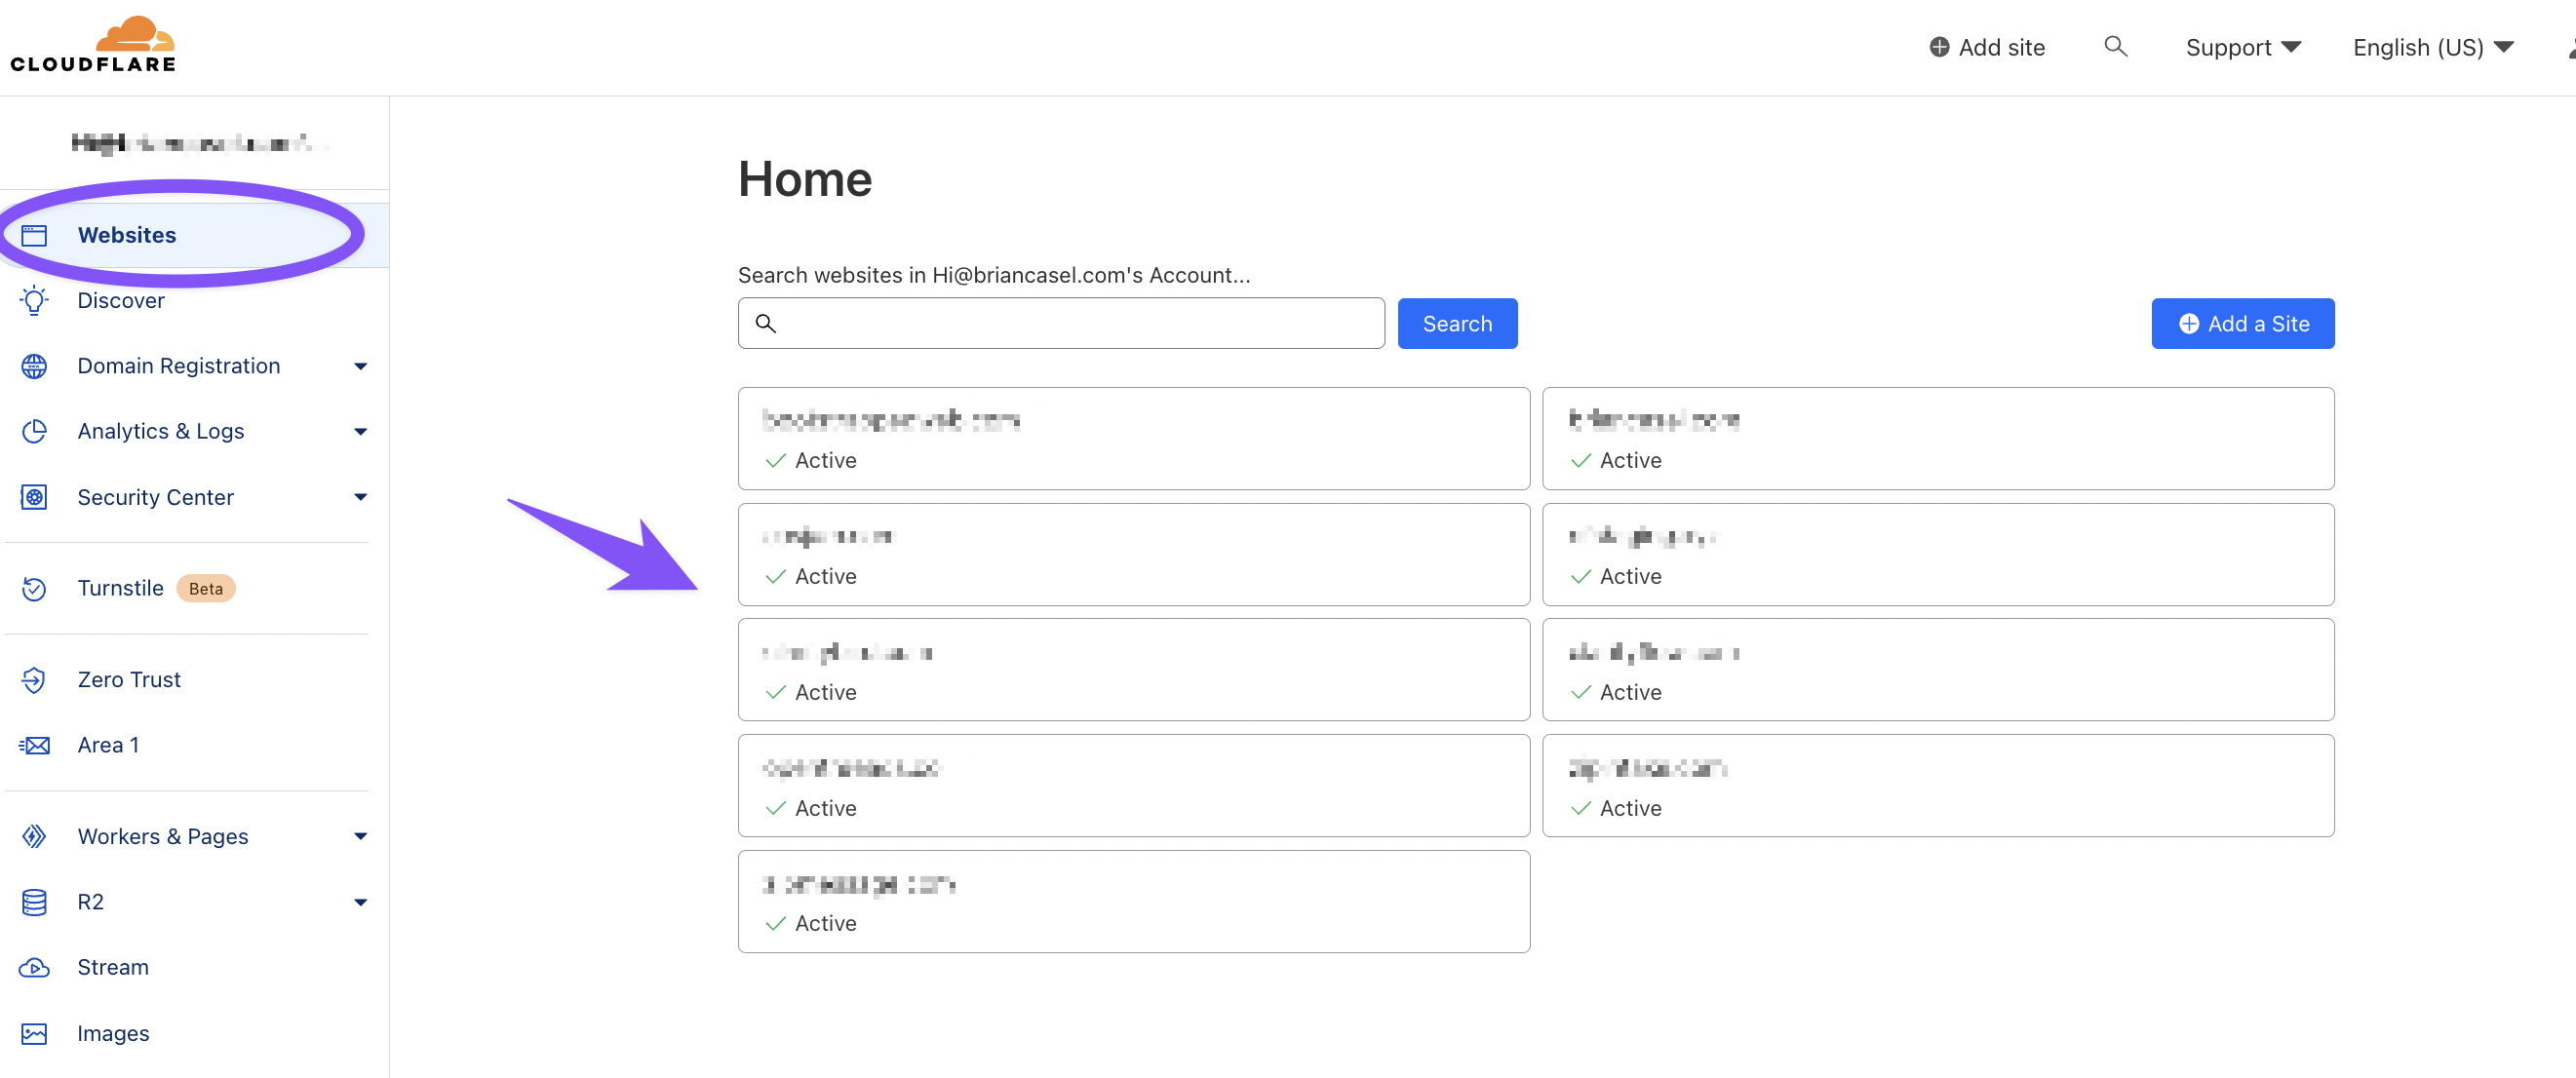
In Cloudflare, select the domain you wish to manage.

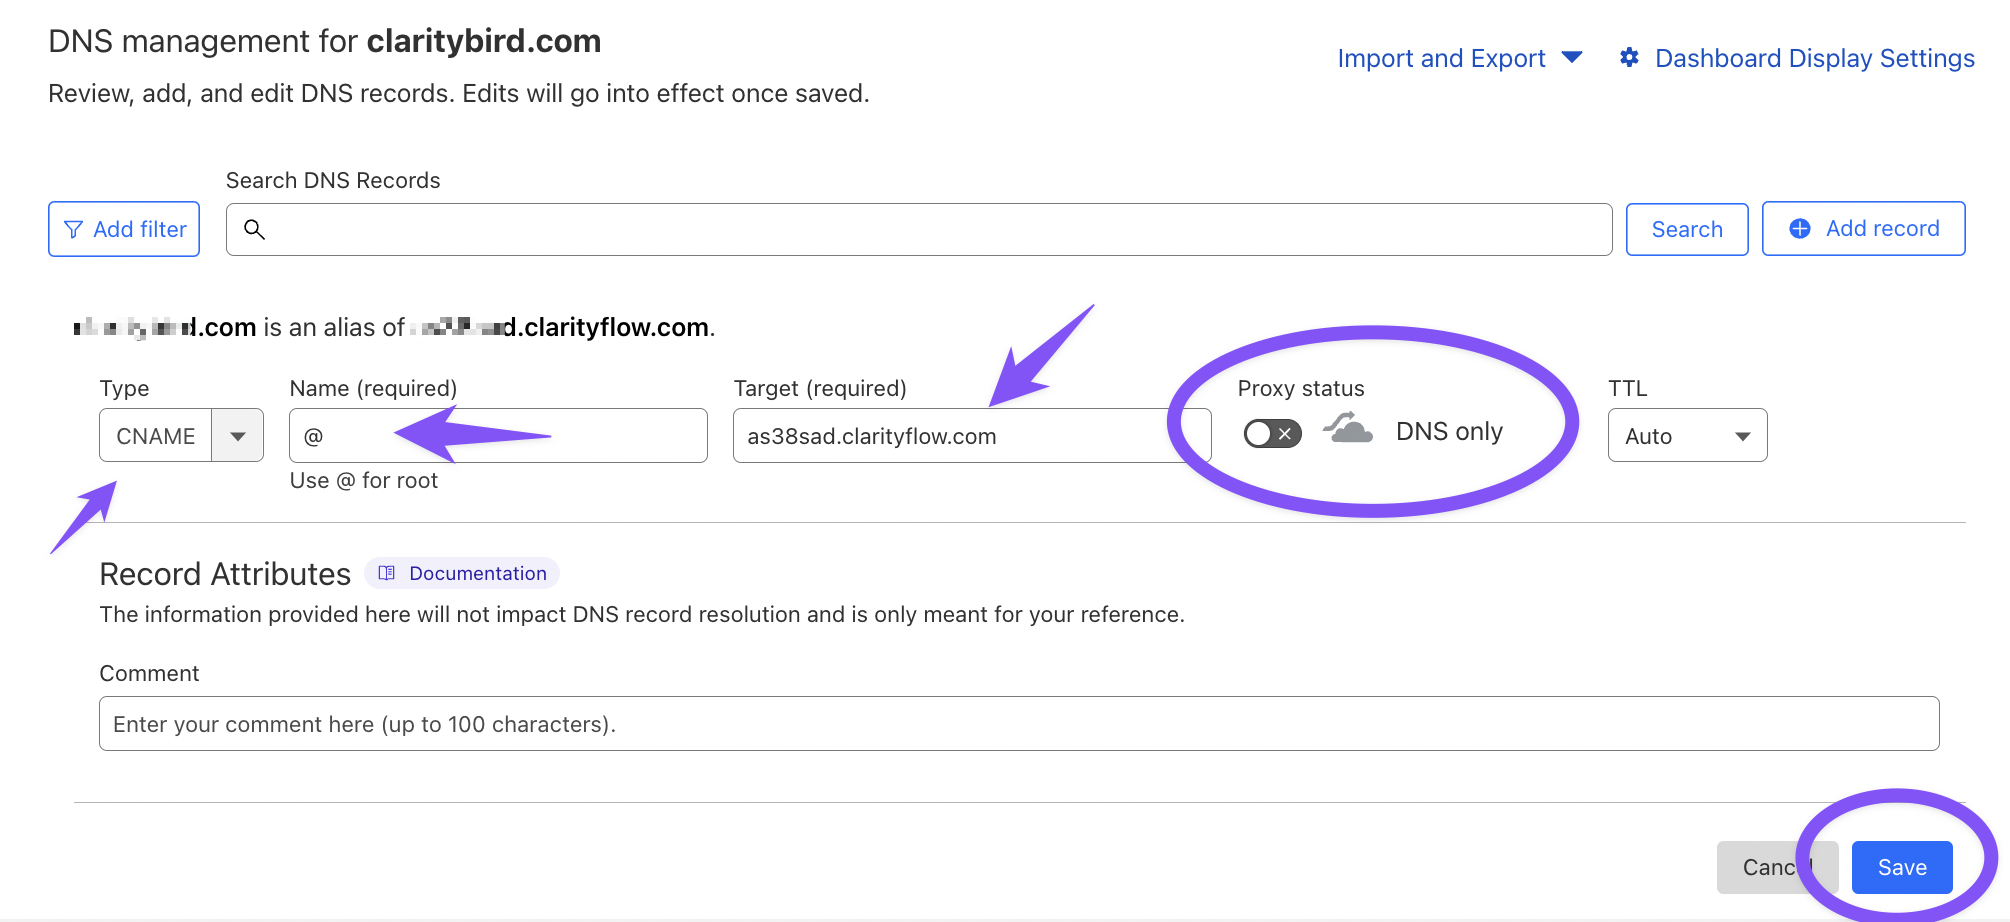
Go to DNS, then click "Add Record"
Create the CNAME record in Cloudflare using these details:
Type: CNAME
Name: Enter your subdomain (example: "coaching" no quotes), or www, or if you want to use your "naked" domain, then enter @
Target: Paste your Clarityflow URL. Find this in the custom domain instructions in your Account Settings > Custom Domain. See our main guide for details.
Proxy Status: Turn it off, so that it says "DNS only"

Click "Save." Then return to Clarityflow domain settings to complete the verification step and the activation step. See details on these in the main guide here.
Learn more about Clarityflow.