Coaches (and their clients) love Clarityflow for powering all the essentials of running a modern-day coaching business.

Every day, coaches are sharing their insights with clients using async video, audio, and text messaging on Clarityflow's simple and modern coaching software platform.
“I’ve deeply fallen in love with Clarityflow. When people have questions, I can deliver answers without booking a call.”Chris Lema, Business Coach


Clarityflow's easy-to-use software platform gives you all the tools you need to give clients a great experience and scale your coaching business.
“Clarityflow gives my clients and I an easy way to work together when it's convenient, even coaching on small things (before they become big things). It's so valuable for us both.”Cristin Downs, Executive Coach
“Clarityflow has been an absolute game changer for my coaching business. My clients love it too.”Jason Resnick, ConvertKit Coach
“Async coaching with Clarityflow has been huge for my business. It's built for my exact business model and it allows me to do my coaching in a way that I want to. It's simple and does everything I need!”Chris Marr, The Authoritative Coach
“"I am such a fan of Clarityflow and don't know how I could function as a coach without it! It helps me achieve results with my clients more quickly because of the consistent pace of interaction while reducing time investment on my end."”Bansari Shah, Certified Life coach, CPLC, MA
The days of duct-taping multiple tools that don't quite fill the unique needs of coaches are behind us. Clarityflow takes modern coaching to the next level.
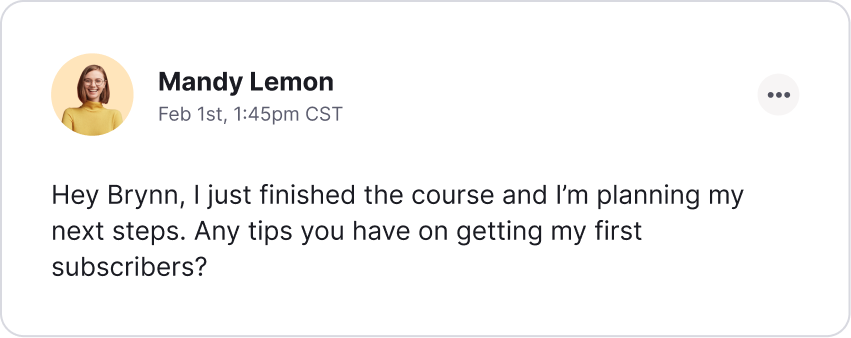
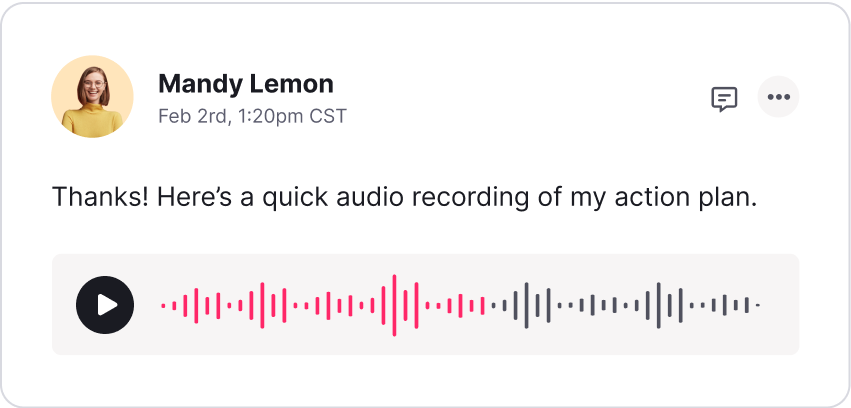
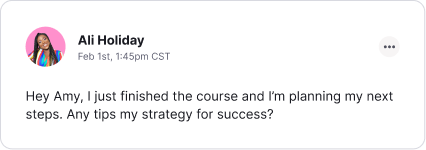
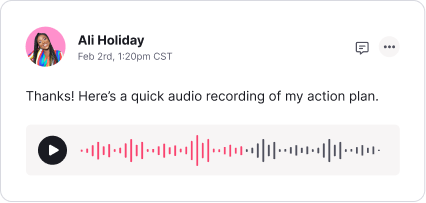
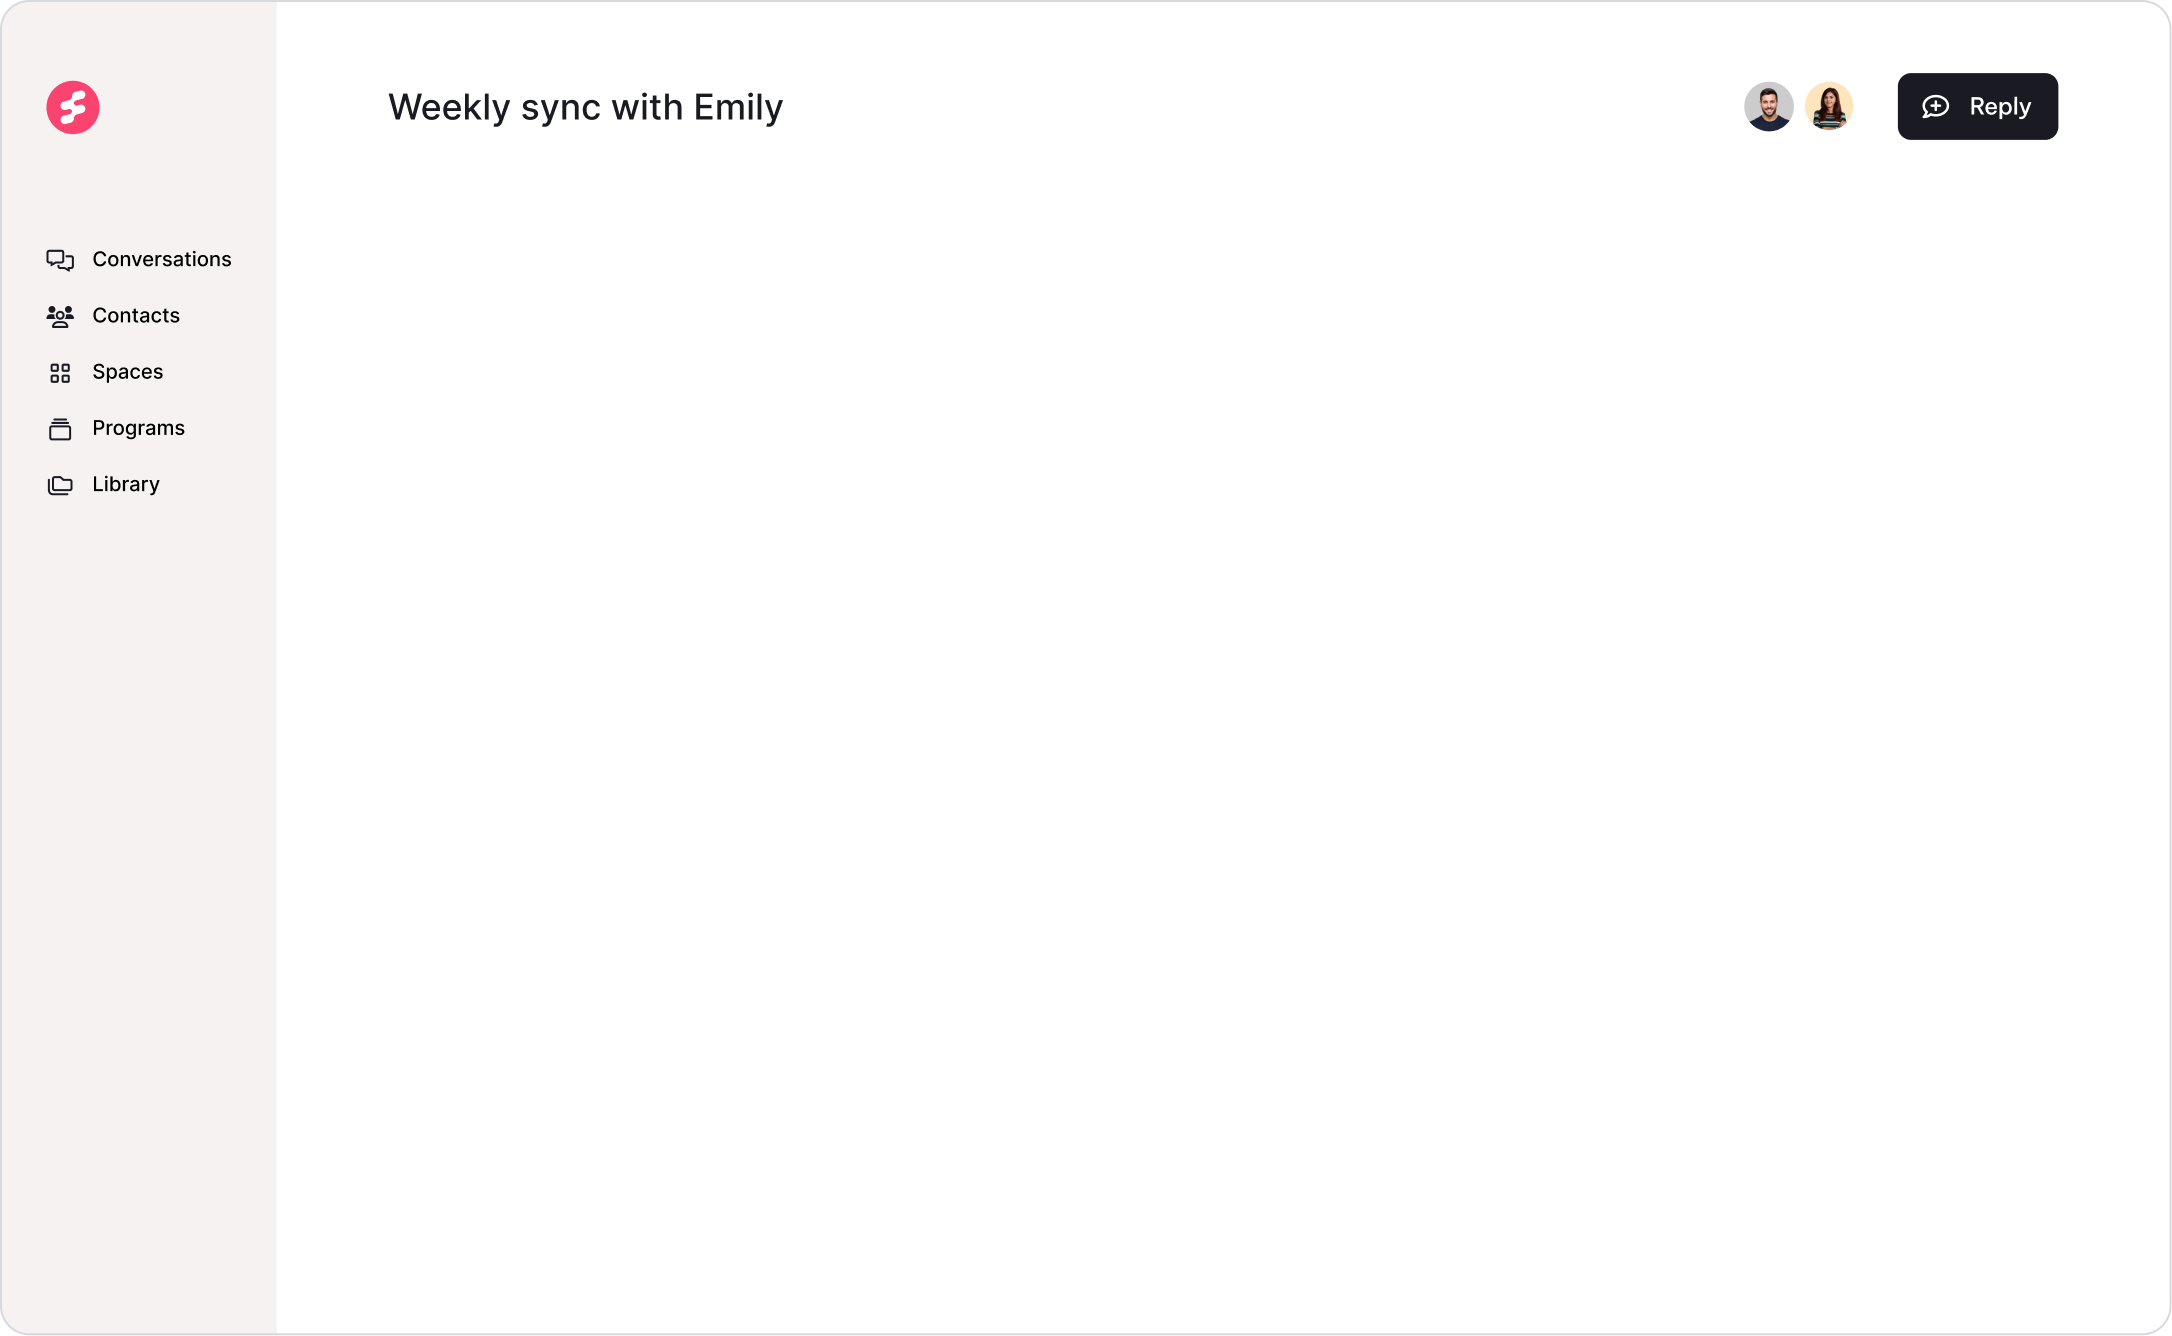
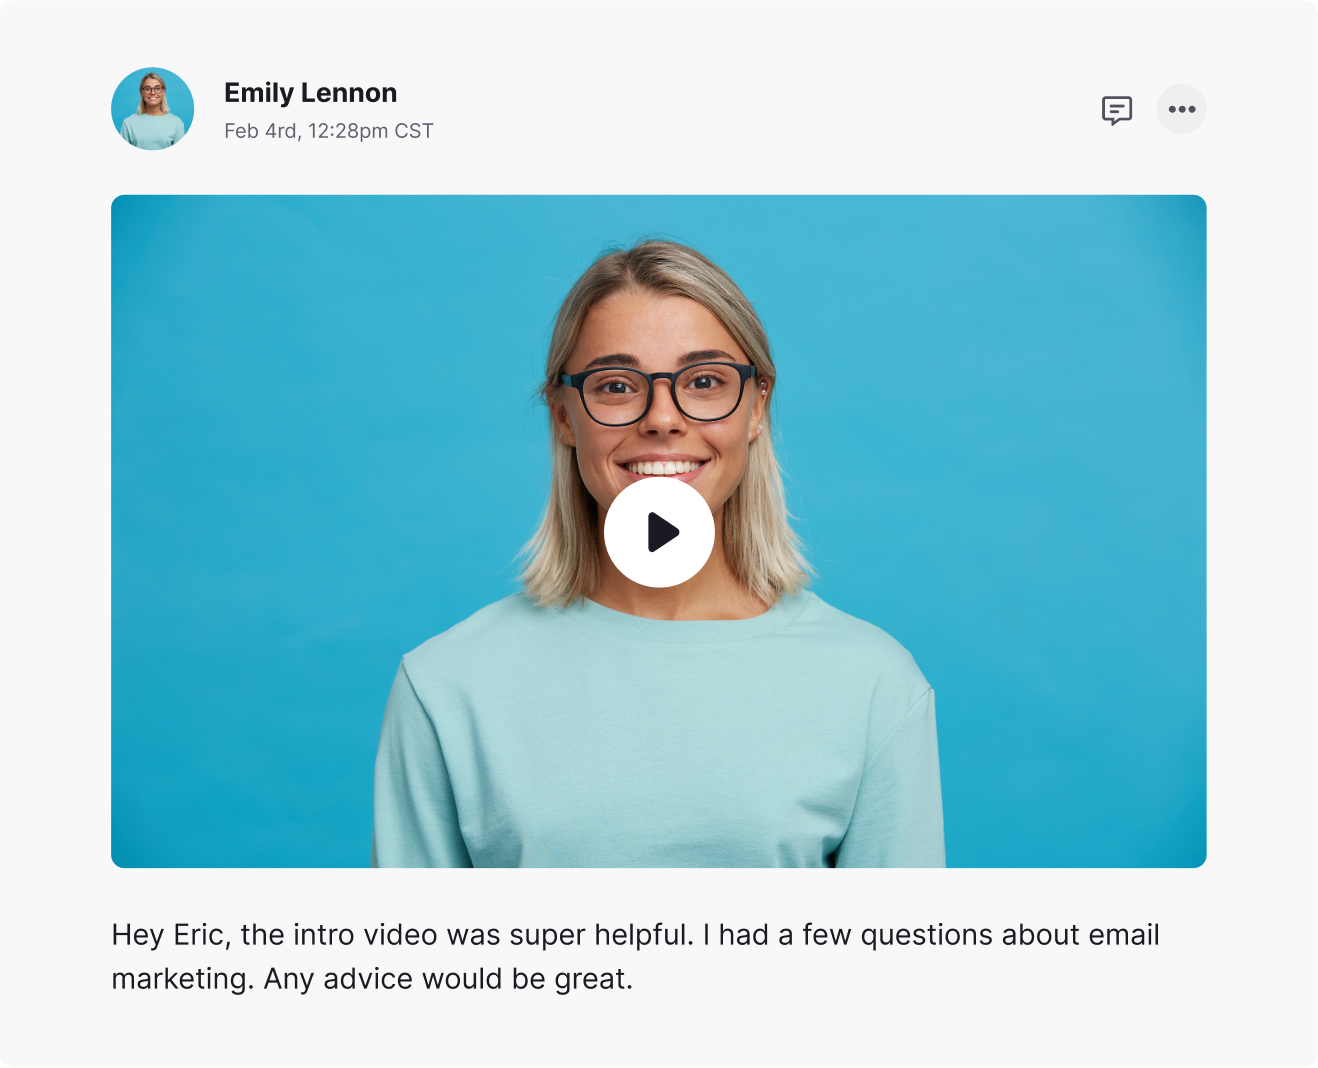
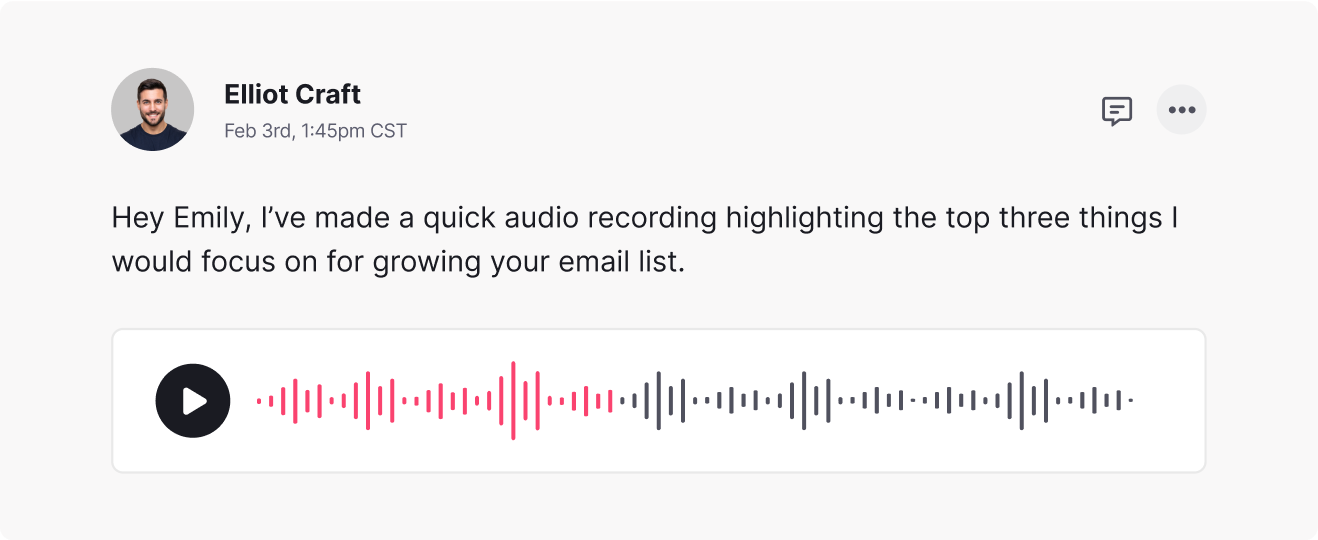
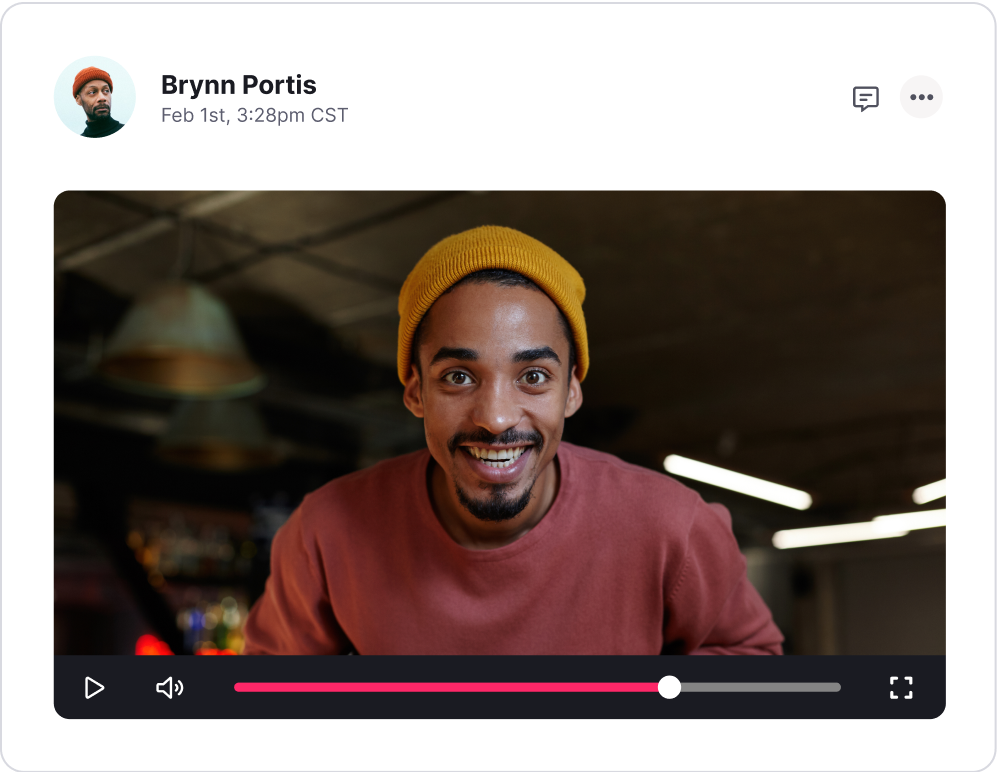
Swap video, voice, or text messages in threaded, asynchronous conversations with clients. As easy as sharing a link, pressing record, and send.
Not every conversation needs to be live. Async coaching provides space to receive and respond at a time that works best.
Upload your call recordings and continue the conversation with async followups.
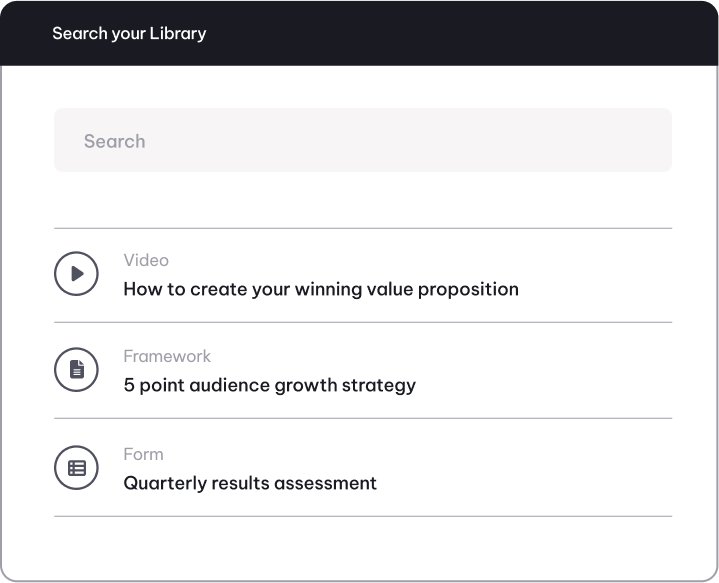
Build your library full of your best coaching insights, lessons, frameworks, assessments, worksheets and more. Pull from your library when you're in a conversation, or use your templates to create personalized courses.
Turn any message into a template so that you don't need to give the same advice twice.
Mix your library content with personalized coaching to meet your clients where they're at.

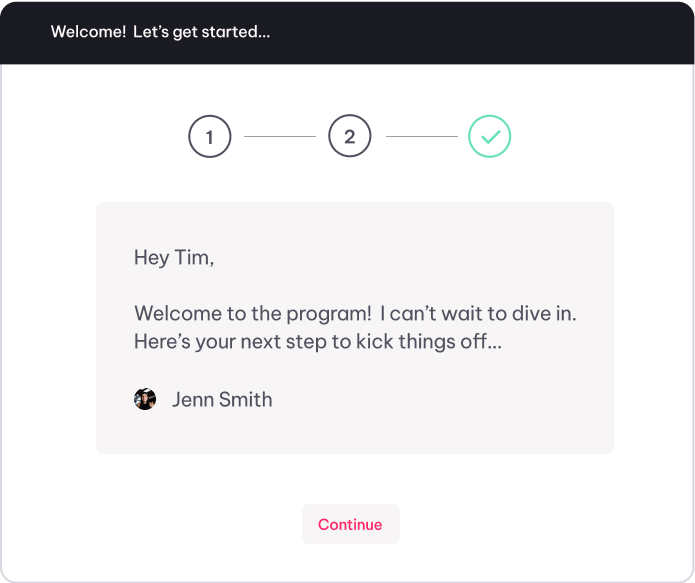
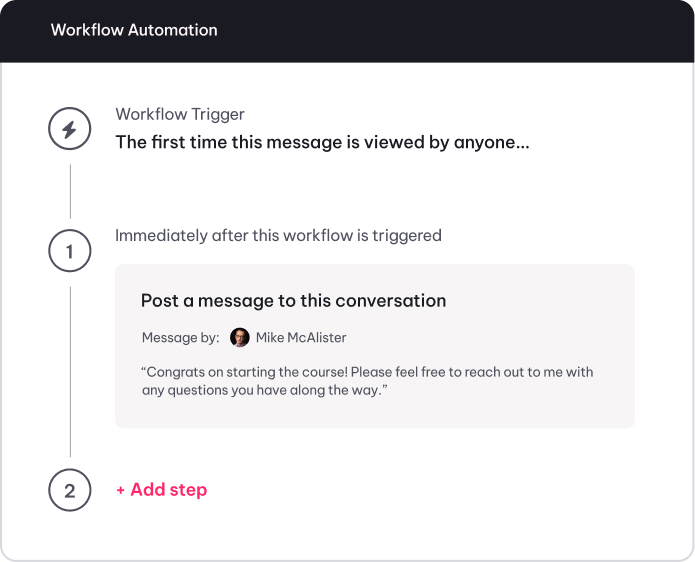
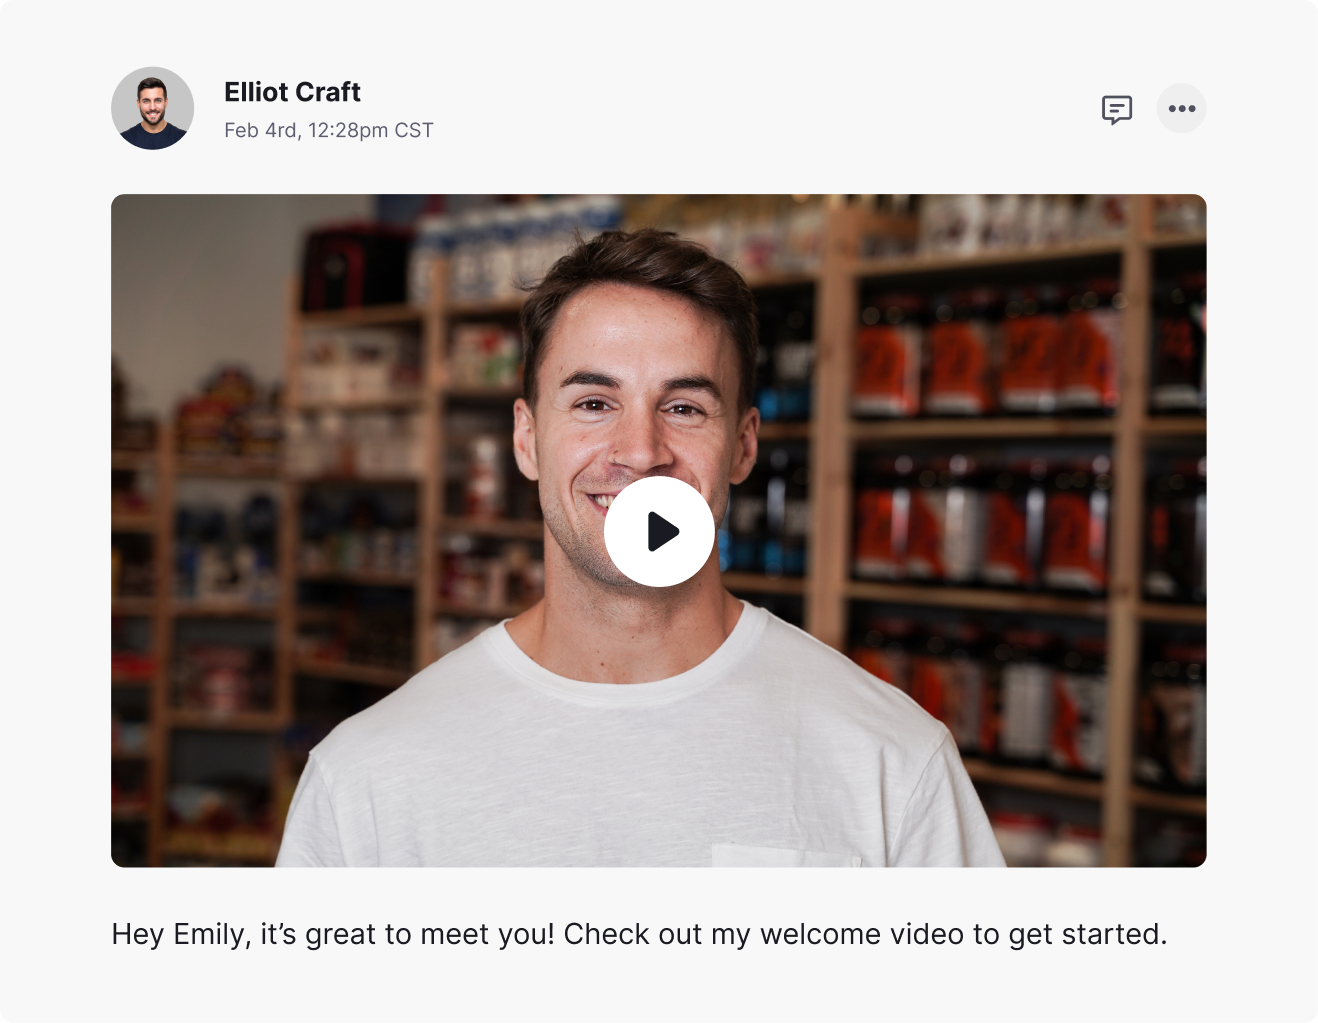
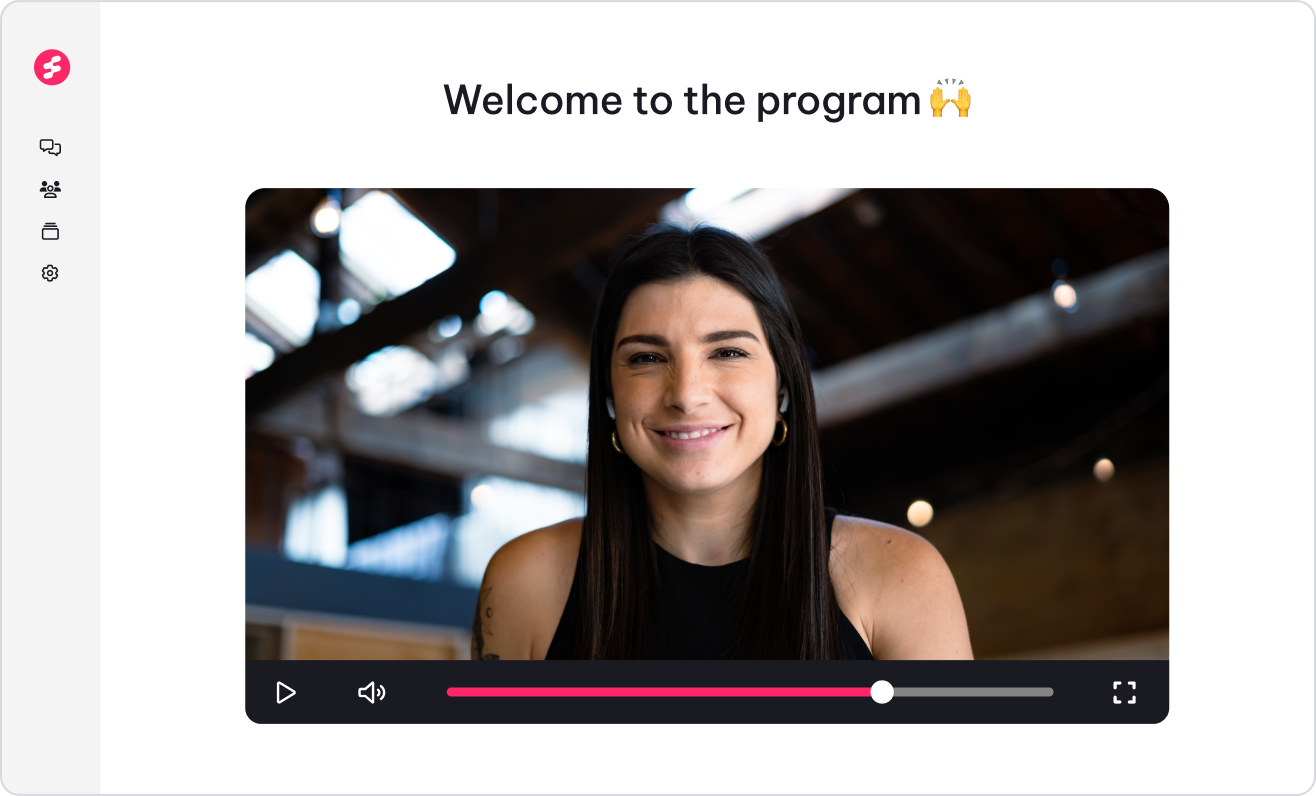
Make it easy for clients to get started with your coaching with a smooth, personalized welcome flow.
Welcome every client with a personalized welcome message (or use a template) to get them started.
Onboard many clients to your programs and track their onboarding progress.
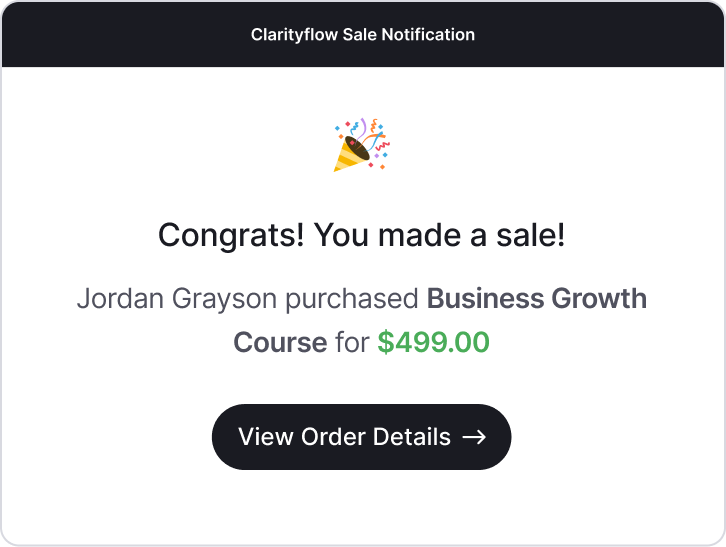
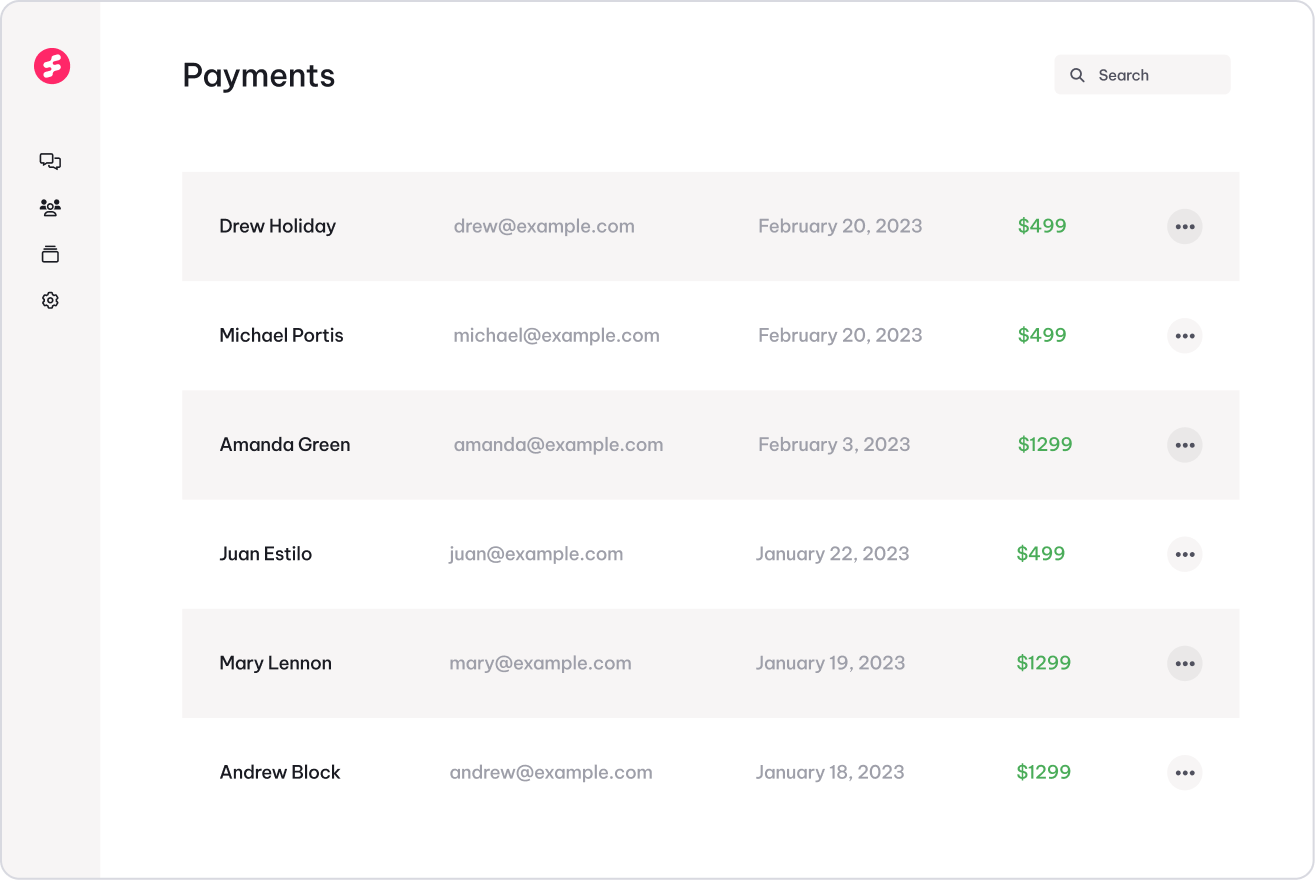
Giving clients an easy way to purchase your coaching packages and products has never been easier or more streamlined.
Seamlessly integrate your Stripe account directly in Clarityflow and start accepting credit card payments in minutes.
Give clients an easy way to purchase and manage their payments & subscriptions with you.
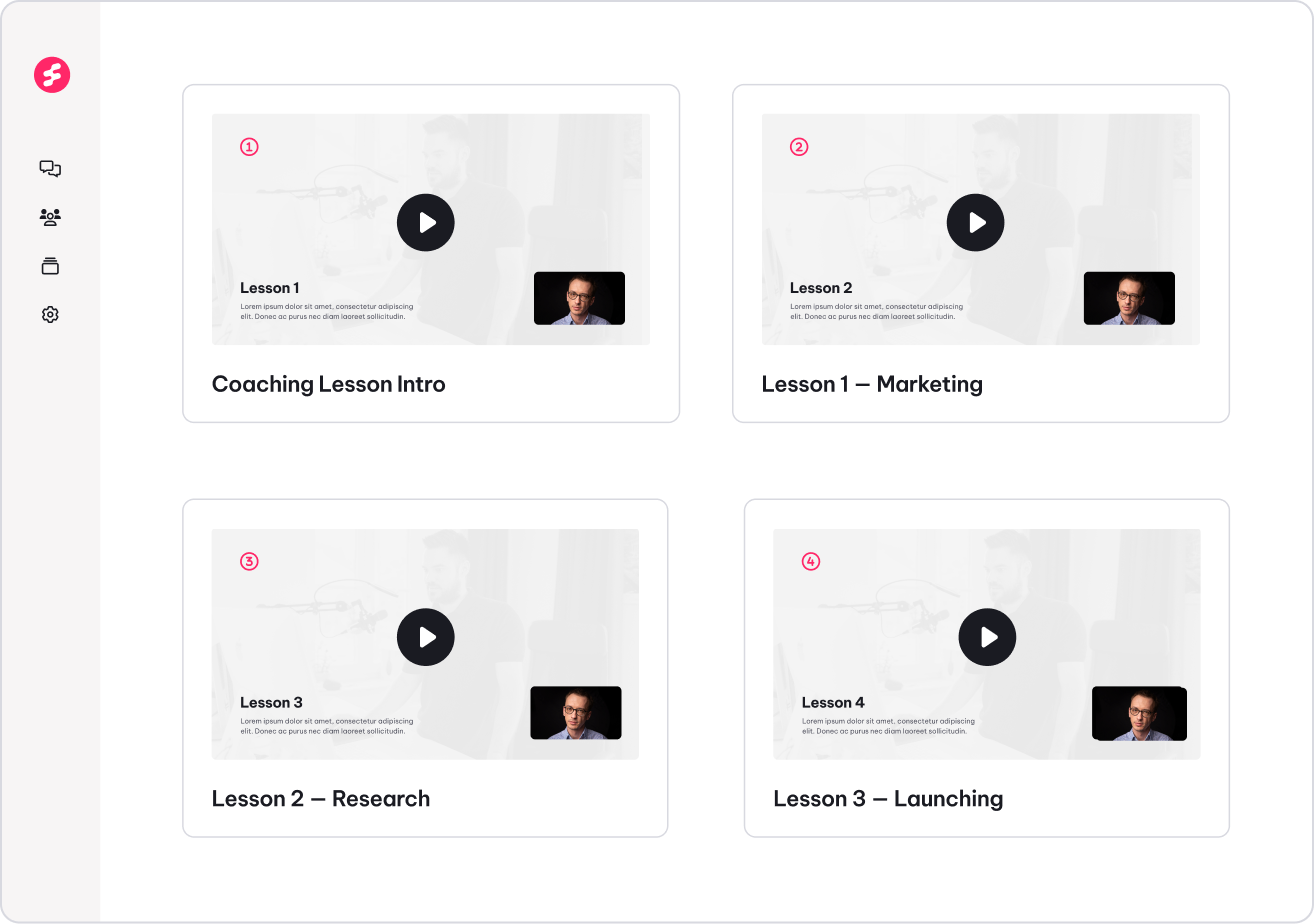
Enroll clients in courses that go hand-in-hand with your coaching to give clients the best path to achieve amazing results.
Tailor the content of each client's enrollment to their specific needs, wherever they're at in their journey.
Students can learn and ask questions of you (coach) or ask others in their cohort.
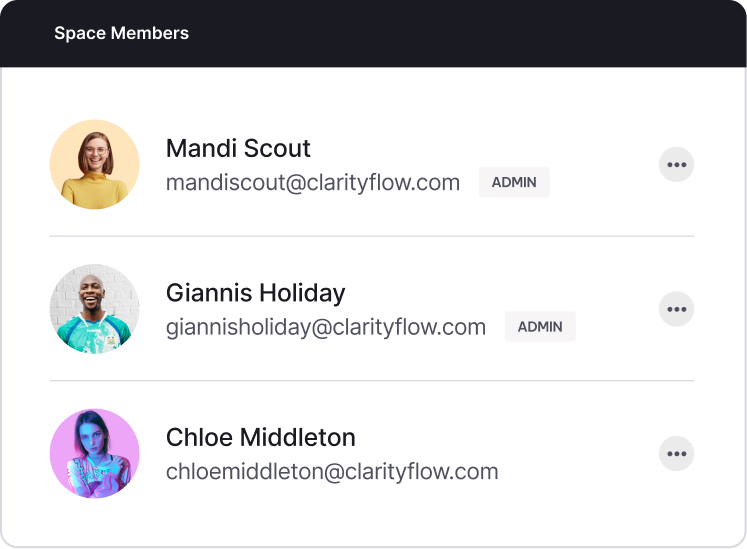
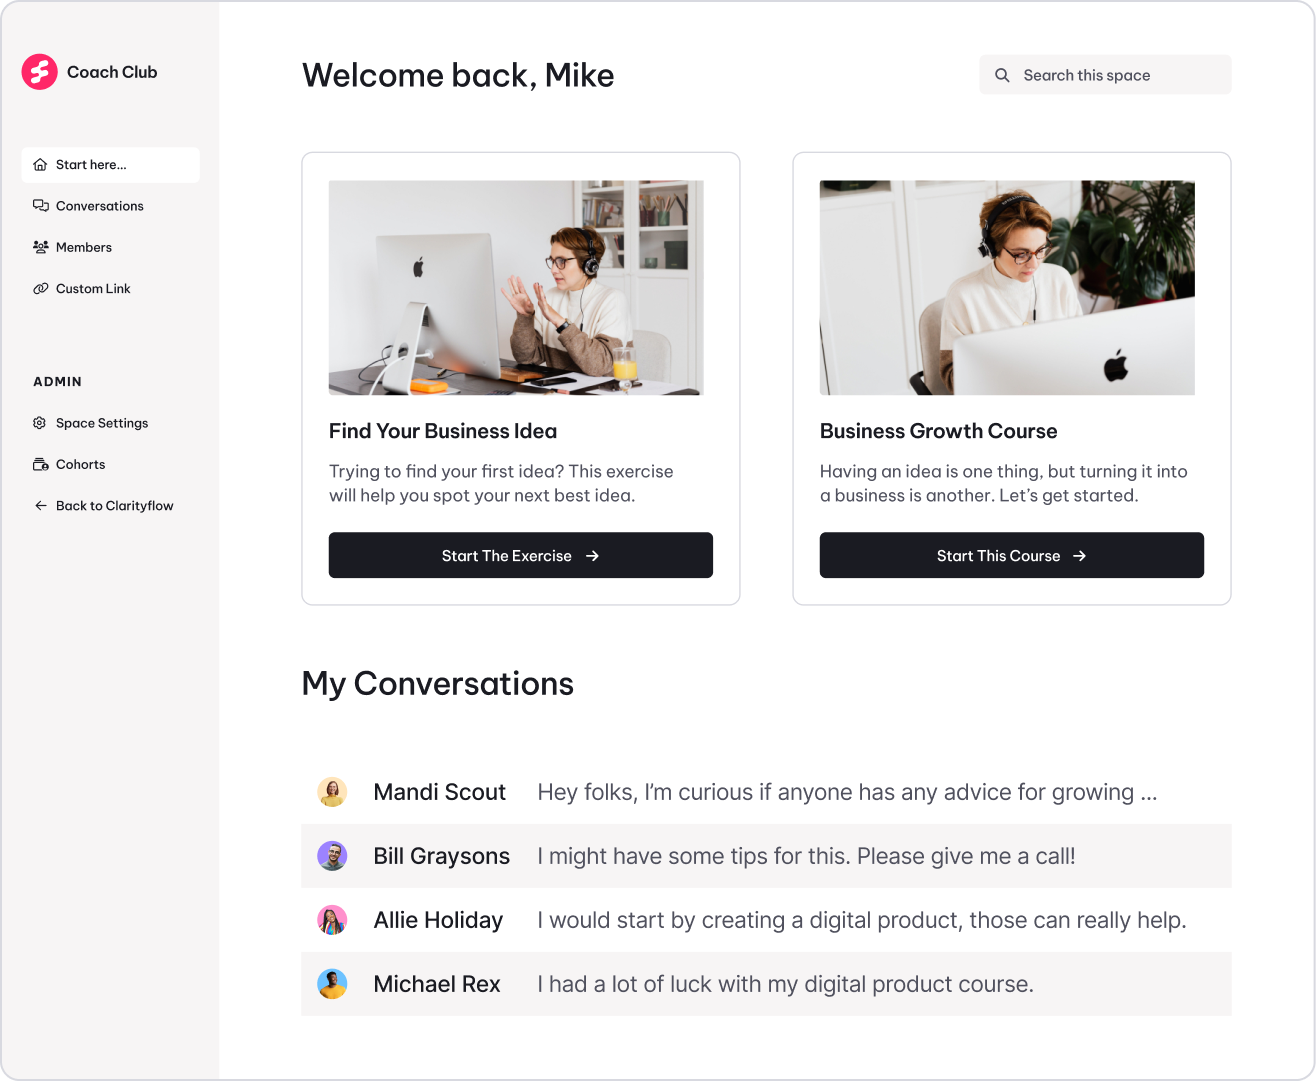
Host private coaching groups and cohorts where members can connect and grow together.
Add value with small (or large) coaching groups with members-only access.
Run group cohorts with a scheduled start and finish or grow an evergreen community.
Use your own domain name (yourname.com) and custom branding to make Clarityflow an extension of your own brand.
Connect your own domain name and make Clarityflow a seamless extension of your own website.
Apply your own brand colors and logo to all views in Clarityflow to give clients a fully branded experience.
“My clients love my new async model on Clarityflow because they can get value on their own time.”Justin Wise, Business Coach
“I love to use Clarityflow for communicating with my clients. It's so much easier to use than every other tool I’ve ever tried!”Kendrick Shope, Consultant
Run your entire coaching business without paying for multiple tools.
You get it all with Clarityflow:
Smart coaches just use Clarityflow and cancel the rest:

Before starting Clarityflow, I spent years as a consultant, coach and teacher in my industry.
In all my conversations with clients, teammates, and partners, one thing became increasingly clear: We need to communicate clearly and communicate on a schedule that works for us. That's what led to the initial idea for Clarityflow—an async communication platform.
As I spoke to more and more coaches, they told me how frustrating it was—both for them and their clients—to have to duct-tape multiple tools together just to be able to run a modern-day coaching business. So my team and I focused Clarityflow on helping coaches unlock their ability to scale their client relationships without sacrificing clarity, trust, and depth a successful coaching practice demands.
Today, my team and I take great care in continuously improving Clarityflow, making it the perfect software tool for powering a modern coaching business.

“Not every client meeting needs to be on Zoom! Clarityflow lets me go async with the full power of video.”Andrew Monaghan, Sales Coach
“I love how Clarityflow makes it easy to setup and re-use templates. I can manage it all on mobile, so I can truly get work done anywhere, anytime.”Susan Liao, Lead Coach, Leaders Like Us
“Clarityflow has really streamlined my business. In 6 weeks, my calendar had only 15 meetings, down from 43 this time last year!”Sean Pritzkau, Coach & Strategist
“With Clarityflow, I'm able to stay in touch with so many clients, so much easier. My coaching clients also use it for feedback in between our coaching sessions.”Jessica Malnik, Consultant